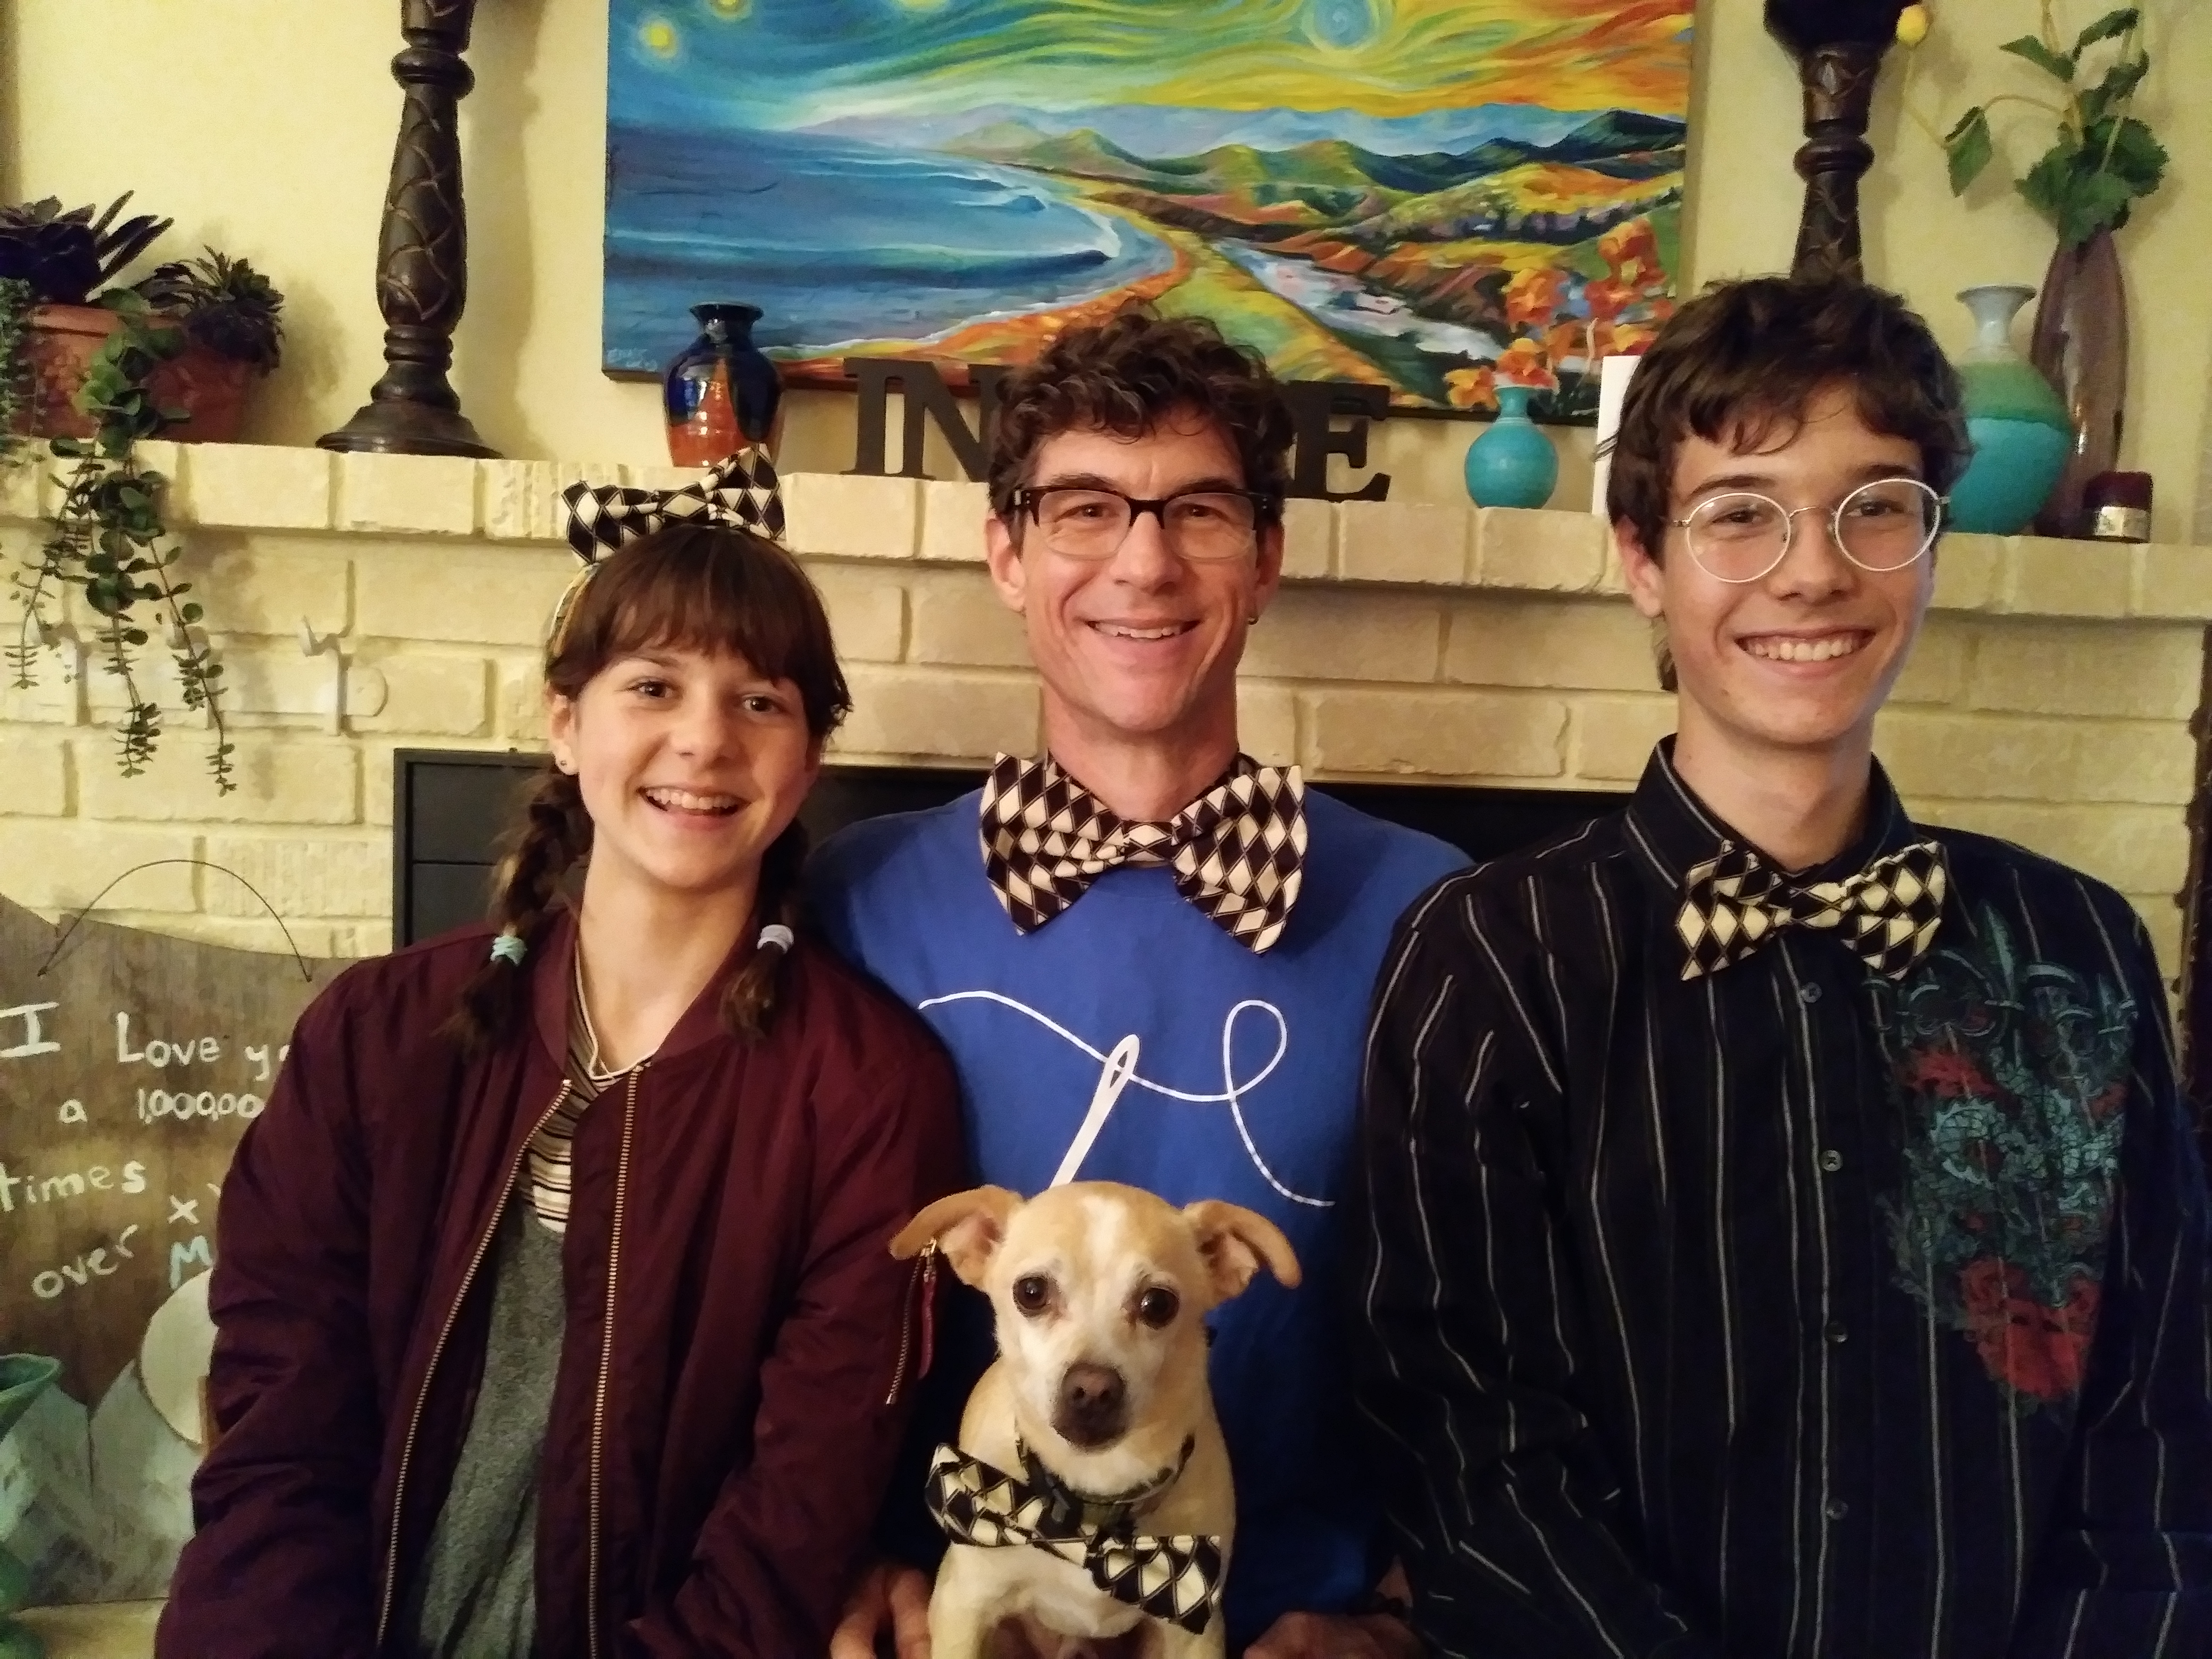
My kids and I love being creative together. We often spend time hiking, playing music, building with LEGO bricks, and, of course, creating in my sewing studio. Sometimes we even get a little silly! This project will delight the inner child in you and may even inspire you to do something out of the ordinary.
Have you ever wanted to add a dapper touch to your wardrobe? Create a fun bow tie to add that extra something. Then, go even bigger and make it clown-sized for even more excitement! Being the guy I am, I got a bit carried away and created an extra large version for myself. Then my daughter, Ruby, decided she wanted a teeny tiny version for her hair. So, we started experimenting with a simple bow tie design that works for all sizes, from small to super-sized! All you need to do is adjust the size of the bow to fit your needs.
As a father, I understand the importance of spending quality time with my kids. I have also been learning that life is not about the destination, but rather about enjoying the journey. Whenever I get a chance to hang out and be creative with my family, it is a huge blessing. This project brought us together and even the dog joined in on the fun. We all laughed so hard we were crying when the dog, Winston, wanted his own bow tie too! It’s moments like these that make it all worthwhile. Be sure to subscribe to Rob’s YouTube Channel so you never miss any of his awesome tutorials! Subscribe HERE!
Check out our step-by-step instructions for making your own bow ties below!
Happy Father’s Day and Happy Creative Moments! —Rob
Bow Tie Instructions

Supplies Needed:
¼ yard patterned or solid quilting cotton fabric (Rob used Barber Shop by Bristol Bay Studio for Benartex) Click HERE to shop all of Missouri Star’s “masculine” prints to make a dapper bow tie or any gift, for the father in your life!
¼ yard light to mid-weight fusible interfacing
Hook and eye closure

Cut fabrics:
7 ½” x 12” For standard sized bow
(Rob’s XL cut was 11” x 17” and Ruby’s small hair bow was 6” x 7 ½” – secured with two bobby pins)
7 ½” x 12” Fusible interfacing (Match to the size of the first cut)
2 ½” x 6 ½” Center tie
2 ½” x Neck circumference plus 1” (For example, my neck circumference was 16”, so I cut at 17”)
HINT: If making for children, please add velcro instead of a clip to your list. You will also need to add 2 inches to the circumference of the neck rather than 1″. 🙂
Step 1.) Press the fusible interfacing to the wrong side of the bow fabric (7 ½” x 12”).

Step 2.) Sew long sides, 12” with right sides together (RST).


3.)Turn right sides out (RSO) and press the seam to the center of the bow piece.

Step 4.) Fold right sides together with the center seam fold on outside and sew the short ends together. Trim off a bit of the end to clean up the raw edges.

Step 5.) Then, turn the bow piece right side out so the short seams and the center seam are on the inside of the bow. Now you’re ready to make the center of the tie.

Step 6.) To make the center of the tie, fold the 2 ½” x 6 ½” rectangle piece right sides together(This piece does not need interfacing), and sew along the 6 ½” side. Press the seam open and to the middle BEFORE you turn right sides out. Then sew one end of the tube closed, this makes turning the tube right sides out much easier!

Step 7.) Turn the tube to right side out (RSO). For a fast, easy way to turn tubes, check out this Man Sewing Quick Tip HERE.

Step 8.) Fold in the open end, keeping the raw edge tucked in, and prepare a hand needle with about 8” of thread.

Step 9.) With the open short end against the back seam of the bow, pinch the rectangle to shape the bow, and wrap with the center strip. It should wrap around twice and stop to the backside of your bowtie. Then, catch the closed short end with the hand needle and stitch the edge underneath to the top short edge to secure.
(Pinch)

(Start wrapping)

(Continue wrapping)

(Hand stitch together on back side of bow)

Step 10.) Sew the center strip short end to the strip to secure, then find the other corner of the first short end and catch it like you did previously. This will keep the center of the tie looking tidy.

Step 11.) Cut the neck strap by measuring the circumference of your neck and adding 1” for the seams.

Step 12.) Prepare the strap as you did for the center of the tie. Sew the long sides right sides together (RST), press the seam open and flat to the center, and sew one short end closed. Turn right sides out again.


Step 13.) To finish the strap, fold the closed edge of the tube into the open short end, tucking the raw edges inside, making sure you adjust this for your neck measurement.
Step 14.) Sew a hook to the underside (long seam side) of the strap on one short end, and the eye to the top side (finished) of the other end of the strap. Hint: the placement of the hook and eye will be the final adjustment for fit.

Step 15.) Push the neck strap under the center of the tie and slide through to finish the bow tie.


There you have it! We’re a dapper bunch, wouldn’t you say?


cool idea