DIY Bowties with Rob and the Kids!

My kids and I love being creative together. We often spend time hiking, playing music, building with LEGO bricks, and, of course, creating in my sewing studio. Sometimes we even get a little silly! This project will delight the inner child in you and may even inspire you to do something out of the ordinary.

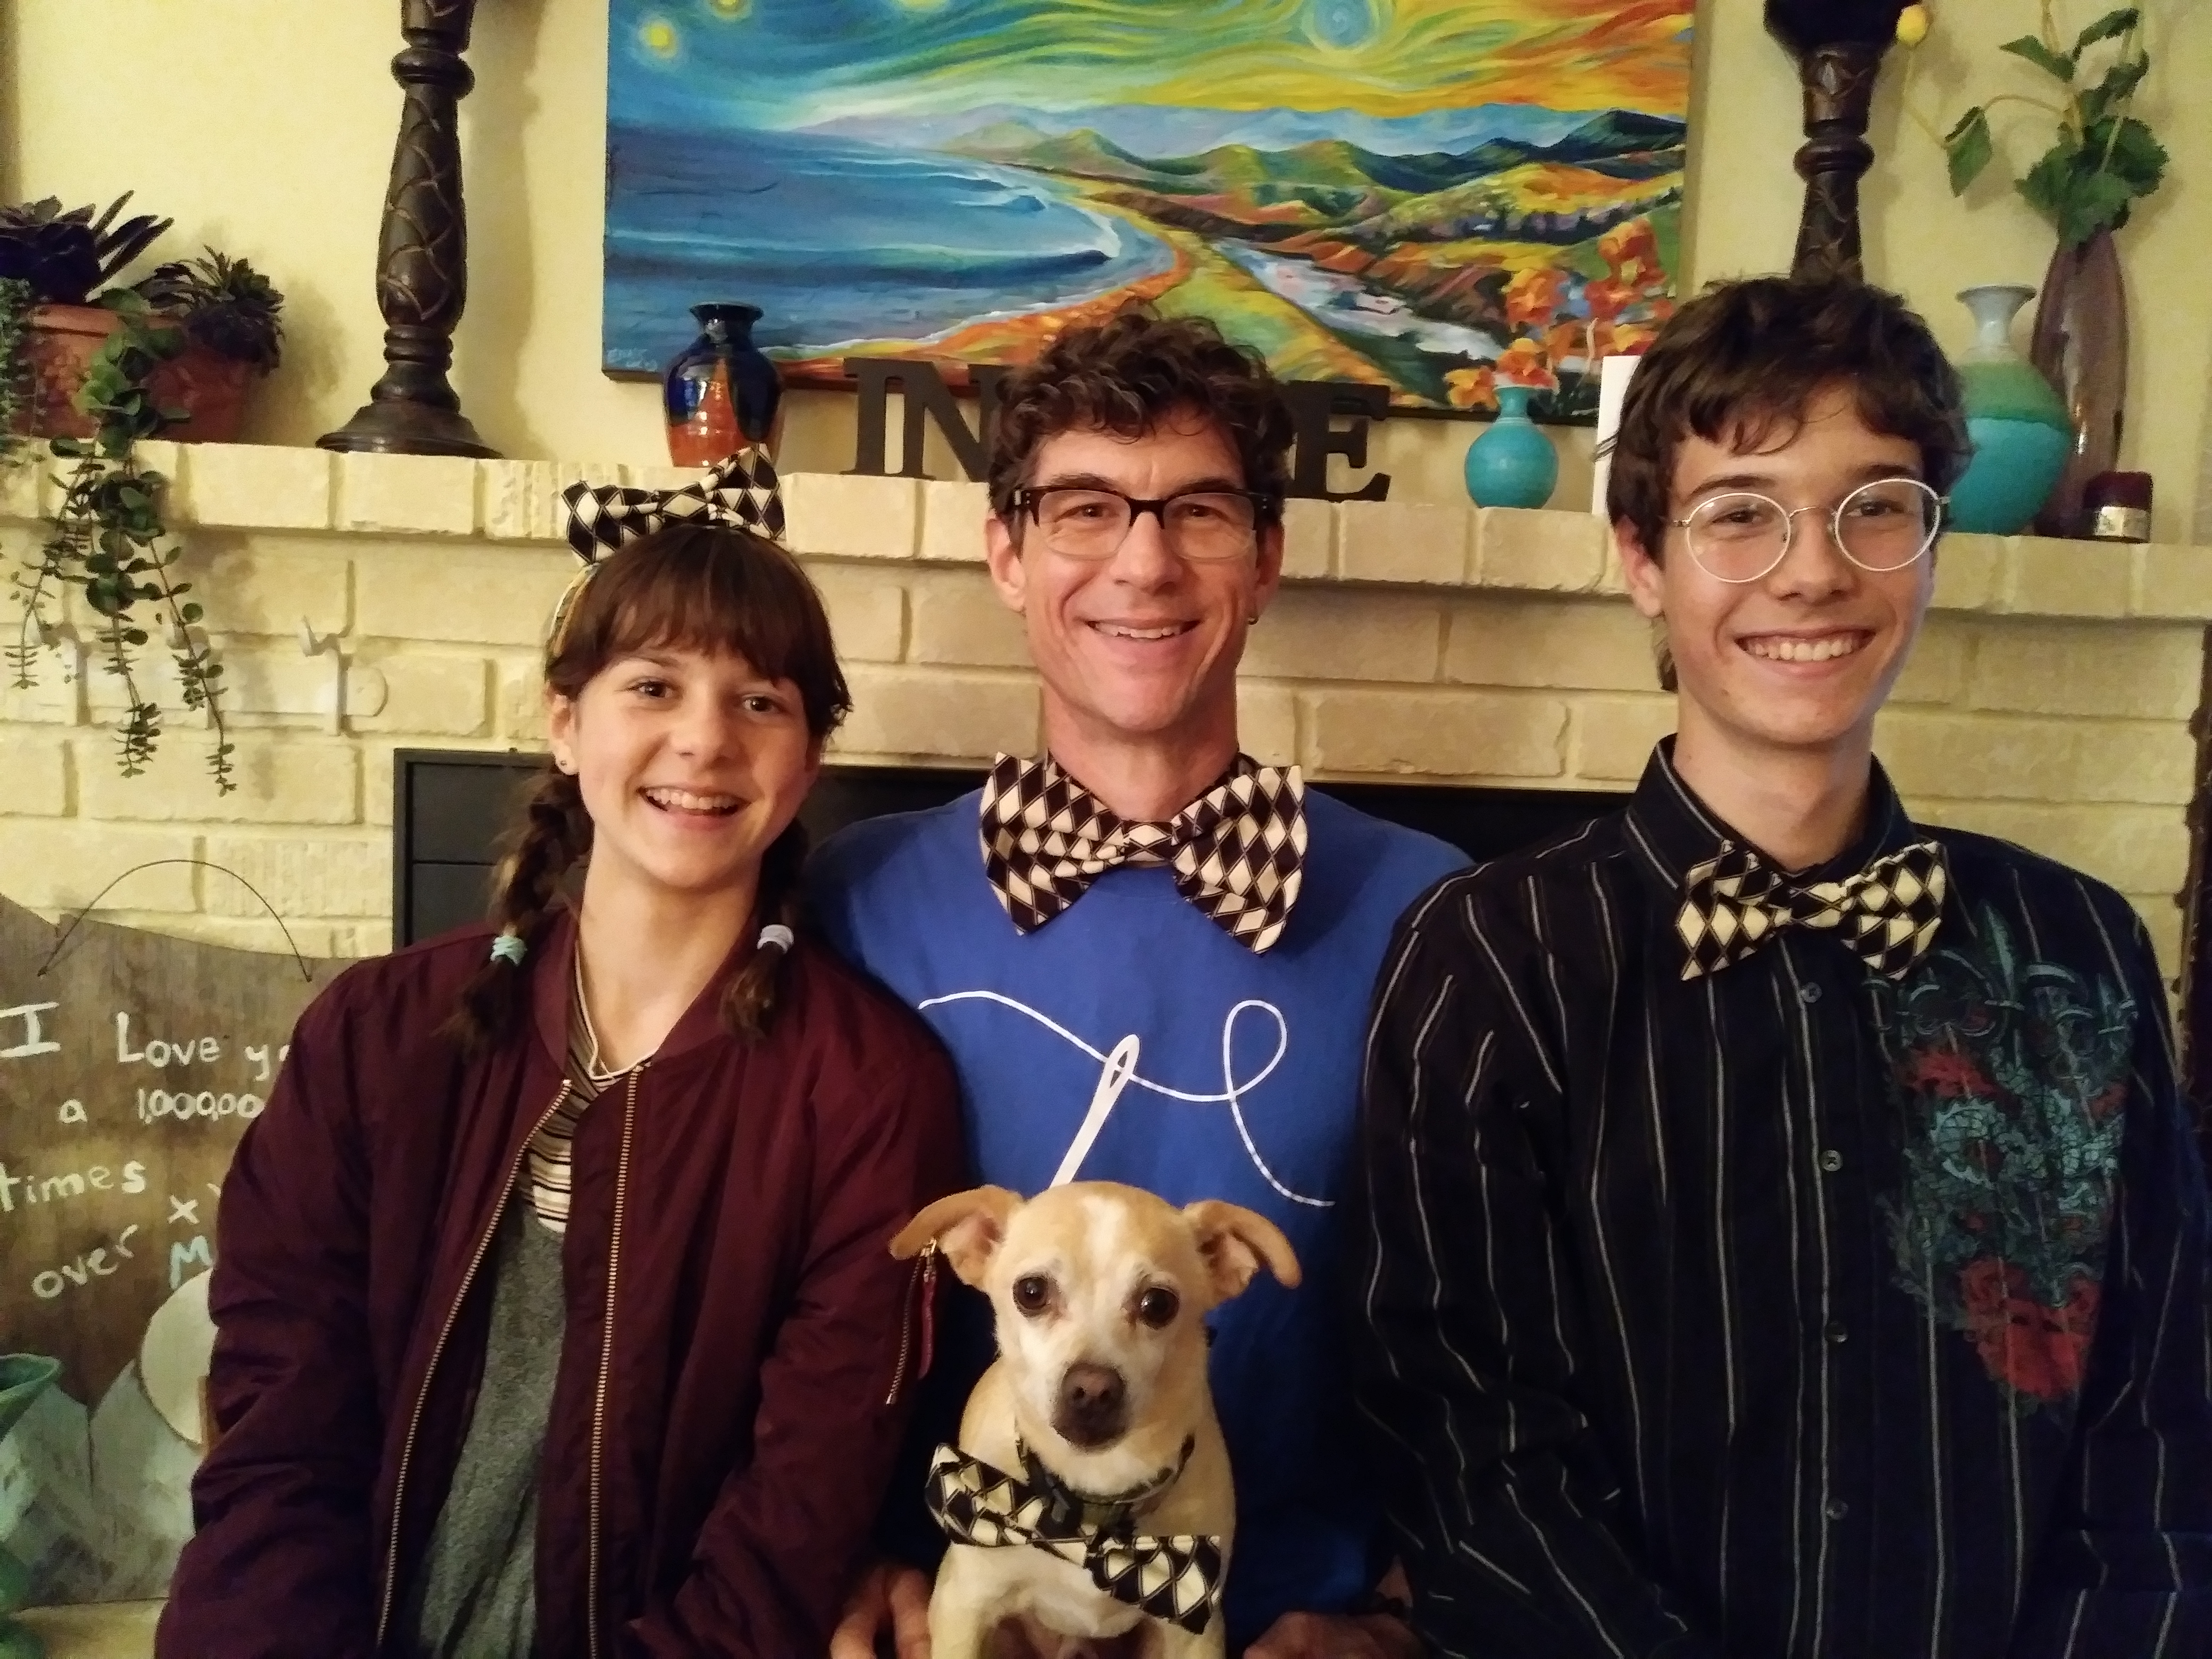
Have you ever wanted to add a dapper touch to your wardrobe? Create a fun bow tie to add that extra something. Then, go even bigger and make it clown-sized for even more excitement! Being the guy I am, I got a bit carried away and created an extra large version for myself. Then my daughter, Ruby, decided she wanted a teeny tiny version for her hair. So, we started experimenting with a simple bow tie design that works for all sizes, from small to super-sized! All you need to do is adjust the size of the bow to fit your needs.

As a father, I understand the importance of spending quality time with my kids. I have also been learning that life is not about the destination, but rather about enjoying the journey. Whenever I get a chance to hang out and be creative with my family, it is a huge blessing. This project brought us together and even the dog joined in on the fun. We all laughed so hard we were crying when the dog, Winston, wanted his own bow tie too! It’s moments like these that make it all worthwhile. Be sure to subscribe to Rob’s YouTube Channel so you never miss any of his awesome tutorials! Subscribe HERE!

Check out our step-by-step instructions for making your own bow ties below!

Happy Father’s Day and Happy Creative Moments! —Rob

Bow Tie Instructions

0509182054b

Supplies Needed:

¼ yard patterned or solid quilting cotton fabric (Rob used Barber Shop by Bristol Bay Studio for Benartex) Click HERE to shop all of Missouri Star’s “masculine” prints to make a dapper bow tie or any gift, for the father in your life! 

¼ yard light to mid-weight fusible interfacing

Hook and eye closure

0510181436

Cut fabrics:

7 ½” x 12” For standard sized bow

(Rob’s XL cut was 11” x 17” and Ruby’s small hair bow was 6” x 7 ½” – secured with two bobby pins)

7 ½” x 12” Fusible interfacing (Match to the size of the first cut)

2 ½” x 6 ½” Center tie

2 ½” x Neck circumference plus 1” (For example, my neck circumference was 16”, so I cut at 17”)

HINT: If making for children, please add velcro instead of a clip to your list. You will also need to add 2 inches to the circumference of the neck rather than 1″. 🙂


Step 1.) Press the fusible interfacing to the wrong side of the bow fabric (7 ½” x 12”).
0510181520

Step 2.) Sew long sides, 12” with right sides together (RST).

0510181708b


0510181522

3.)Turn right sides out (RSO) and press the seam to the center of the bow piece.

0510181523

Step 4.) Fold right sides together with the center seam fold on outside and sew the short ends together. Trim off a bit of the end to clean up the raw edges.
0510181536

Step 5.) Then, turn the bow piece right side out so the short seams and the center seam are on the inside of the bow. Now you’re ready to make the center of the tie.

0510181536a

Step 6.) To make the center of the tie, fold the 2 ½” x 6 ½” rectangle piece right sides together(This piece does not need interfacing), and sew along the 6 ½” side. Press the seam open and to the middle BEFORE you turn right sides out. Then sew one end of the tube closed, this makes turning the tube right sides out much easier!

0510181543b

Step 7.) Turn the tube to right side out (RSO). For a fast, easy way to turn tubes, check out this Man Sewing Quick Tip HERE.

0510181544


Step 8.) Fold in the open end, keeping the raw edge tucked in, and prepare a hand needle with about 8” of thread.
0510181547

Step 9.) With the open short end against the back seam of the bow, pinch the rectangle to shape the bow, and wrap with the center strip. It should wrap around twice and stop to the backside of your bowtie. Then, catch the closed short end with the hand needle and stitch the edge underneath to the top short edge to secure.

(Pinch)

0510181550

(Start wrapping)

0510181551

(Continue wrapping)

0510181551a

(Hand stitch together on back side of bow)

0510181552

Step 10.) Sew the center strip short end to the strip to secure, then find the other corner of the first short end and catch it like you did previously. This will keep the center of the tie looking tidy.

0510181554

Step 11.) Cut the neck strap by measuring the circumference of your neck and adding 1” for the seams.

0510181555

Step 12.) Prepare the strap as you did for the center of the tie. Sew the long sides right sides together (RST), press the seam open and flat to the center, and sew one short end closed. Turn right sides out again. 
0510181559

0510181714a

Step 13.) To finish the strap, fold the closed edge of the tube into the open short end, tucking the raw edges inside, making sure you adjust this for your neck measurement.

Step 14.) Sew a hook to the underside (long seam side) of the strap on one short end, and the eye to the top side (finished) of the other end of the strap. Hint: the placement of the hook and eye will be the final adjustment for fit.

0510181611

Step 15.) Push the neck strap under the center of the tie and slide through to finish the bow tie. 

0510181614

0510181614a

There you have it! We’re a dapper bunch, wouldn’t you say?
0510181726h


2019 Men Behind The Quilts Calendar Pre-Sale

Are you looking for some quilt-spiration each and every day of the year? Look no further! Rob has offered his talents to help raise money for one of the most exciting quilting events of the summer, the Sisters’ Outdoor Quilt Show, by donating a quilt and posing for The Men Behind the Quilt Calendar!

TMBTQCalendar2019CoverOnlyHR

The Sisters Outdoor Quilt Show is the world’s largest outdoor quilt show with more than 1,300 quilts representing artists and designers from across the globe. It’s an amazing event in a beautiful town overlooking the majestic Three Sisters wilderness. If you have the opportunity to go, we highly recommend it! Every frontier-style building in this charming town is draped with quilts of all varieties. It’s like walking through a quilty wonderland!


As you can imagine, this fantastic quilt show is pretty costly to put together, but no matter how much effort is put into this event there is NEVER an entry fee. To continue to support this amazing show, the organizers choose to raise money for the event by selling calendars. And, believe us, these are not your ordinary quilt calendars! They’re filled with hunky men displaying gorgeous quilts that have been donated to the organization. In addition to this, all of the quilts that are featured in the calendar are then auctioned off to further fundraising efforts. A portion of the proceeds benefits the Sister Camp Sherman Volunteer Fire Department, which serves the surrounding community—especially in wildfire season.

CalendarPreOrder_I600x600_05182018

If you can’t wait to get your hands on a calendar, go right ahead and pre-order the 2019 Calendar HERE. It features quilts by none other than Karla Alexander, Rob Appell, Amy Butler, Joe the quilter Cunningham, Kathy Doughty, Jacquie Gering, Scott Hansen, June Jaeger, Freddy Moran, Jean Wells, Valori Wells, and The Stitchin’ Post. To see an album of the quilts visit 2019 Calendar Quilts.

Each calendar is $12 plus $ 5 shipping in the U.S. Pre-orders will begin to ship out the week of June 18th. And don’t wait! These calendars always sell out. You’ll want to grab several for gifts, birthdays, or just for fun! Go ahead, start your year off fine with The Men Behind the Quilt Calendar. It’ll make those New Year’s resolutions a blast!


Embers Quilt

Click here to make this Embers Quilt

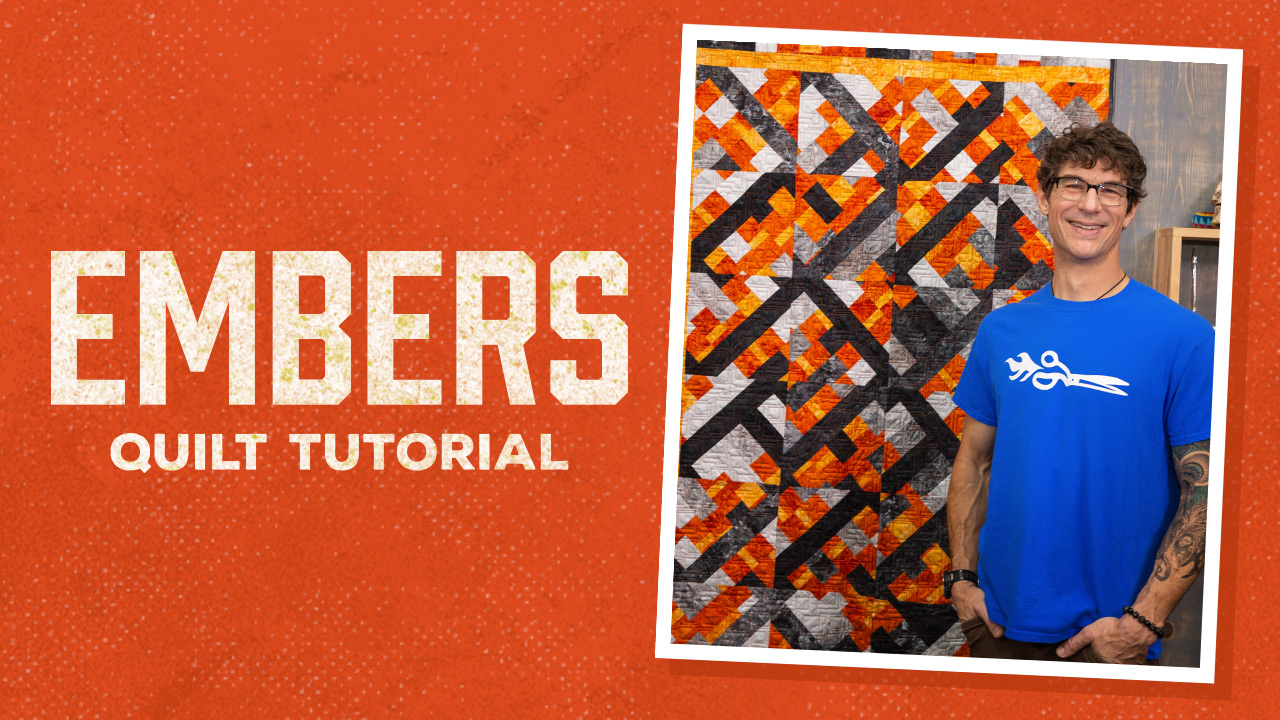
If you build fires, you probably start out with a carefully structured stack of wood. It can be a teepee, a log cabin, or even a star. But no matter how orderly, it’s only a matter of time before those burning logs crumble into a mess of glowing embers.

Watch as Rob shows the neat tricks to create the Embers quilt!

The Embers Quilt is a random patchwork of charcoal and orange that imitates the intricate details of a dying fire. And though it looks a bit complicated, it’s nothing more than chopped up strips sets. Click HERE to watch the tutorial and print the FREE PDF!

Check out a new tutorial every Monday!


Shave Bag

2018ShaveBag625x980

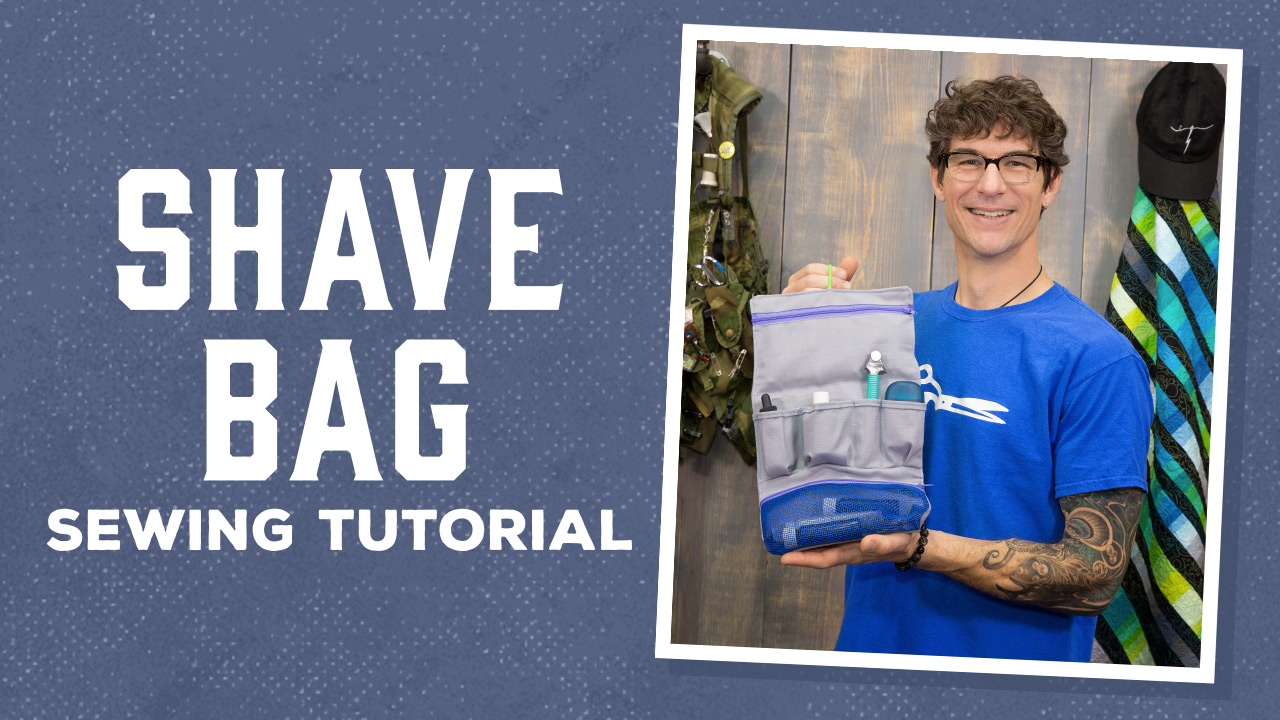
The razor. The floss. The beard brush and moustache wax. Guys need their grooming gear, even on the road – and it needs to be organized and accessible. (A loose toothbrush rolling around the bottom of your duffle bag isn’t going to cut it.)

ShaveBag_Thumbnail_2018_RE


My Travel Shave Bag has compartments and zippered pockets designed to fit everything you need to look your best. It folds into a small, tidy package for easy transportation. When you arrive at your destination, open and hang it for quick access.

Check out a new tutorial every Monday!

3D Tumbling Blocks Quilt

20183dTumbler625x980

They say there are no shortcuts. If you want to become a world-class surfer, you’ve got to hit those waves on a daily basis. To obtain massive biceps, you’ve basically got to live at the gym. And to grow the ultimate lumberjack beard, get ready for the long road of whisker growing ahead. Cool stuff just takes time…usually.

3D_Tumbler_Thumbnail_2018_RE

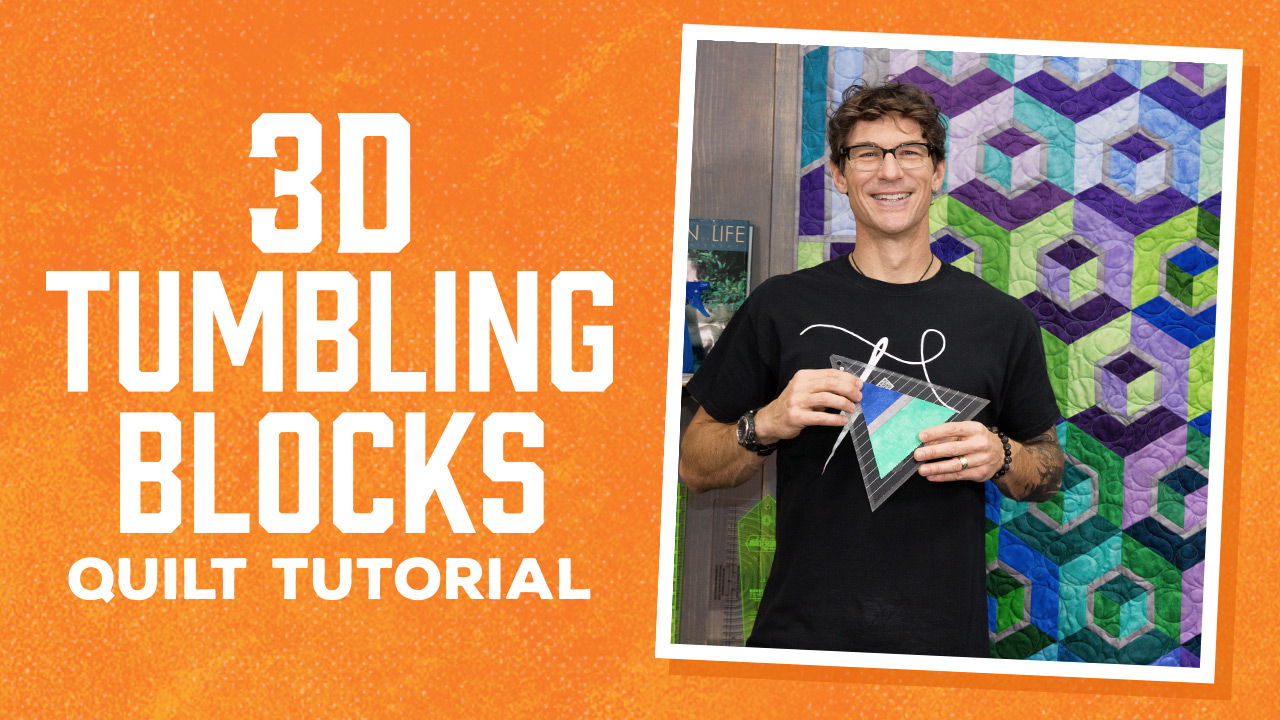
But if you’re itchin’ to put together a tumbling blocks quilt, I’ve got news for you: It doesn’t have to take forever, and it doesn’t have to be difficult. My 3D Tumblers quilt comes together quickly with strip sets and NO tricky Y seams. Plus I’ve added an extra little outline to give these blocks a bonus 3D boost.
watches replica
Check out a new tutorial every Monday!

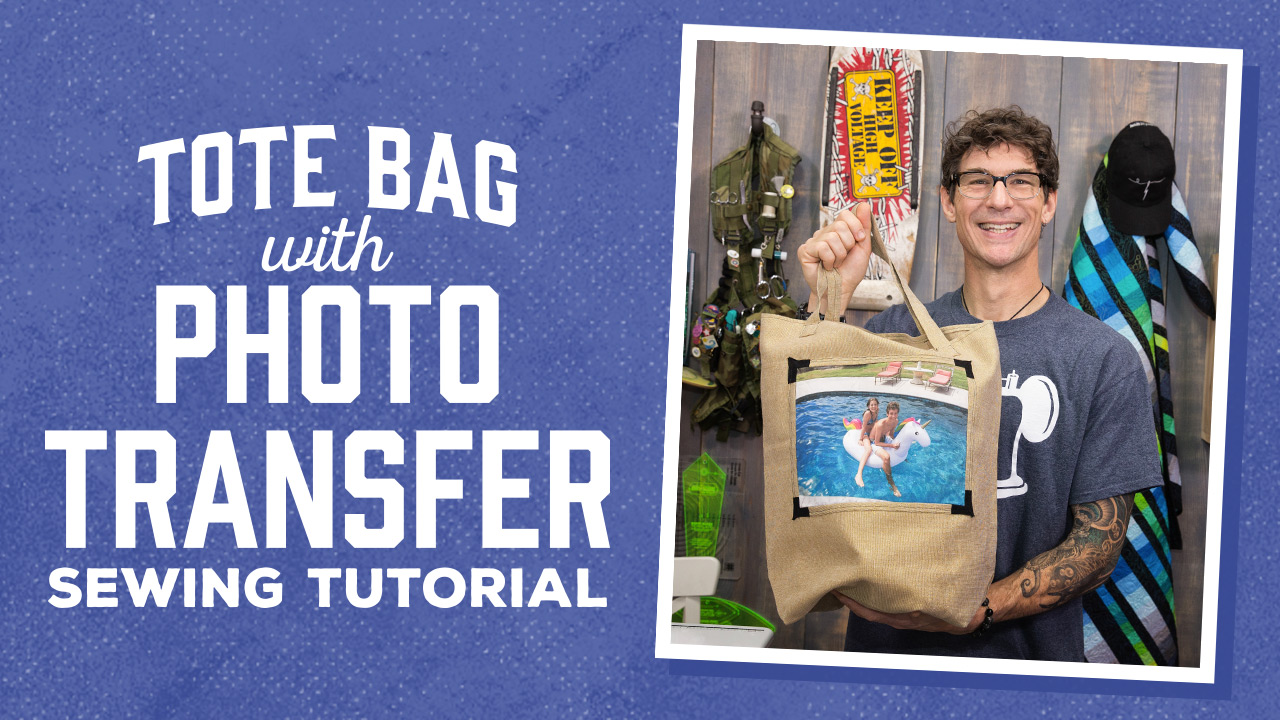
Photo Transfer Tote Bag

2018_ToteBagPhotoTransfer625x980

A picture is worth a thousand words. So, what does your tote bag say about you?

Do you have the coolest cat in the universe? Are your grandbabies undeniably cuter than all your friends’? Are you the parent of the best little leaguer in the state? Prove it with a totally unique Photo Transfer Tote Bag!

ToteBagWithPhotoTransfer_Thumbnail_2018_RE

In this tutorial, I demonstrate how to make an easy tote using fabric photographs that are printed on a regular printer using EQ Printables Inkjet Fabric Sheets.

Check out a new tutorial every Monday!

Celebrate Earth Day!

Earth Day is April 22nd and it’s a holiday I can really get behind. I love any opportunity to celebrate our Mother Earth! My kids are really growing up fast and I am so proud to share with you how my daughter Ruby and her friend Cooper are trying to make a real difference in the world by supporting a threatened species.

Small Rob n Ruby

Every year, National Geographic hosts a Geography Bee. This competition is designed to inspire and reward the curiosity of students across the globe for a chance to win college scholarships and the glory of being the National Geographic Bee Champion!


This year, they extended their Geography Bee into a Geography Challenge too, so middle schoolers were also allowed to compete to find a solution to problems facing a species and their migratory patterns. Ruby and Cooper chose the Monarch butterfly because we are in their direct migratory route between Mexico and Canada.

Small Ruby project

For their project, they created an ingenious clay morsel loaded with milkweed seed, the only food source for the Monarch larvae to eat. Unfortunately, people have been removing milkweed from their yards for years and now much of the food for this butterfly migration has disappeared.

Small group ruby

The team led by their teacher, Mr. Wilcox, took 2nd overall and we were able to celebrate all their hard work with a fun day spent in the company of explorers from National Geographic! It was a fantastic moment.


As quilters, I know that you all do so much to reduce, reuse, and recycle! After all, quilters can’t help but use every last scrap. I want to know what you’re up to this Earth Day. What will you do in your neighborhood to help keep the balance on our planet?


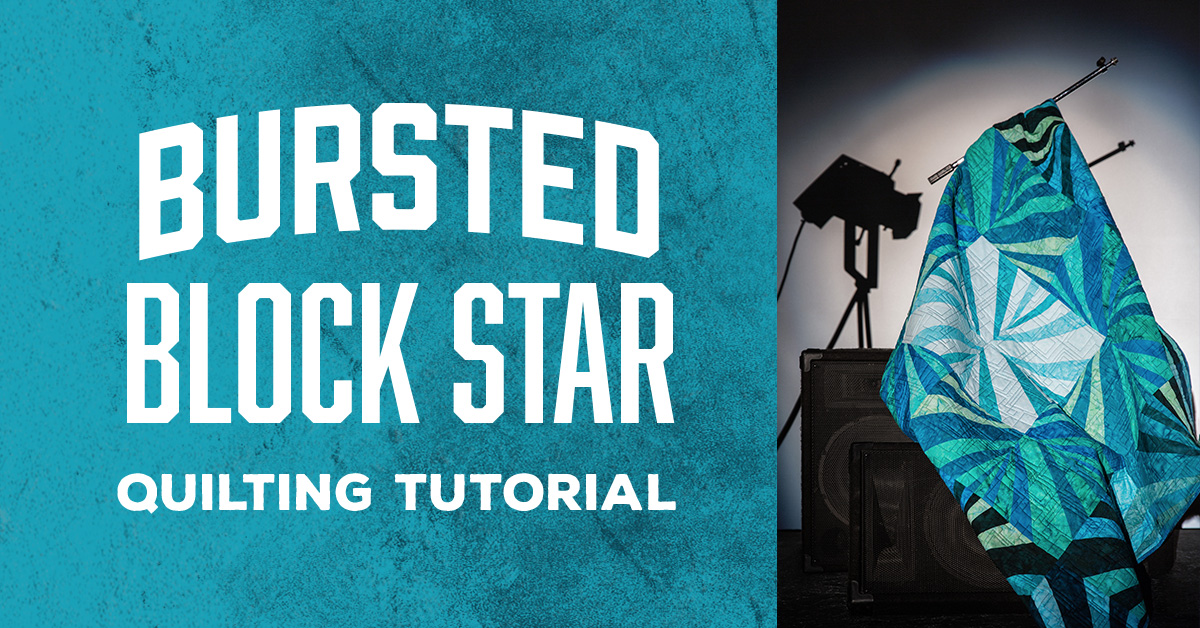
Burst Block Star

BurstedBlockStar_Thumbnail_2018_RESIZED-FOR-EMAIL

Building a Burst Block is a bit like riding a bike. You might start with a touch of trepidation. You may experience a few wobbles and spills. But don’t worry! With each block, you will gain confidence and momentum until, zoom! Off into the quilty sunset you’ll ride, crankin’ out Burst Blocks with the greatest of ease!


MS_IGtutorial_1200x1500

Click HERE to watch Rob Appel demonstrate his newest version of the Burst Block, The Burst Block Star. In this video, Rob shares tons of expert advice and helpful tips to make this quilt as easy as it is fun!

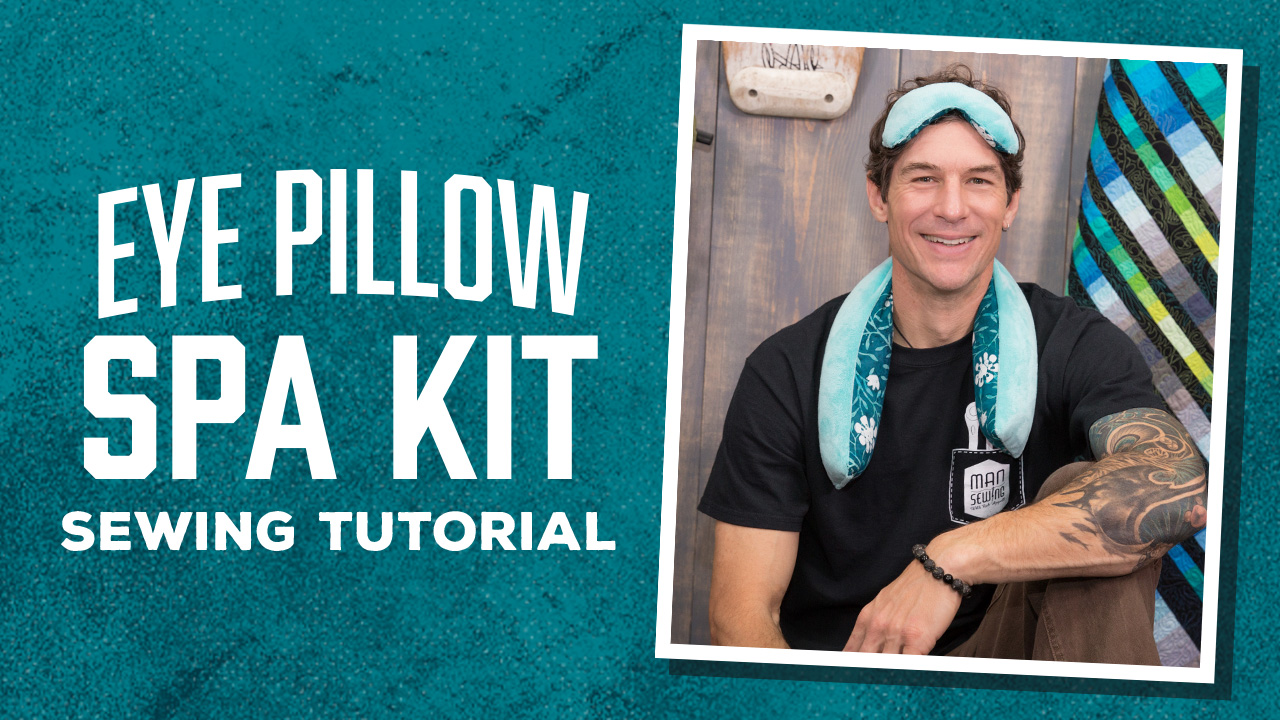
Spa Kit Tutorial

EyePillow_SpaKit_Thumbnail_2018_RE

Listen up, quilters: It’s time to pamper yourself. I’ve worked up a simple little spa kit that’ll keep you calm even after a long session with the seam ripper.

The weight of the Eye Pillow releases tension in your facial muscles. It relaxes your eyes and soothes headaches – especially after being cooled in the freezer. Place this puppy on your eyes after a long, busy day, and you’ll be snoozing in no time!

MS_PinnableTutorial_625x980

Like the Eye Pillow, the Neckroll Pillow is filled with perfectly weighted poly pellets. It rests on your neck like a koala bear hug – which is exactly what you need after an afternoon of free motion quilting. These projects are a blast to make and so nice to use, you’re going to want to crank out a few extras as gifts. Click HERE to learn how!

Easy 1 Yard Skirt

Learn the fast and easy way to create a darling skirt only using 1 yard of Reyon Batiks.

You can’t build a house from one stick of lumber. You can’t make soup with a single potato. You can’t grow a lumberjack-style beard with a lone whisker. But you can sew an entire skirt with just one yard of fabric!

Watch as Rob shows you step-by-step how to create this darling  skirt using one yard of fabric.

This week I’m demonstrating a quick and easy way to construct a circle skirt or square skirt out of one yard of batik rayon. These skirts are a hit with my twelve-year-old daughter and they wash up great, too! Click HERE to watch the tutorial!

Check out a new tutorial every Monday!