Wonky Fireworks Quilt

Wonky Fireworks Quilt

wonky fireworks

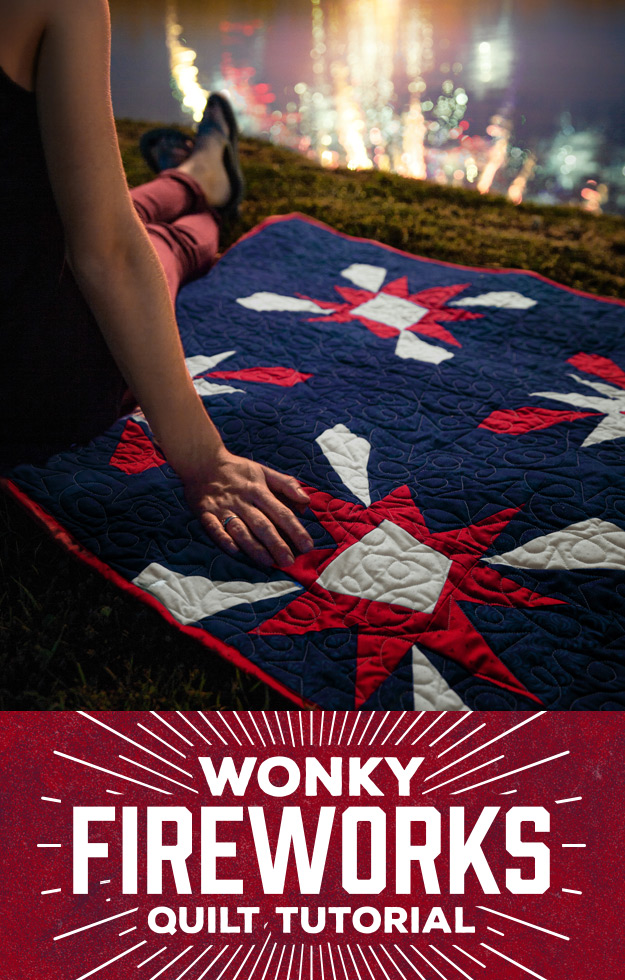
When you’re spread out on your favorite quilt to enjoy a firework show, the last thing on your mind is science. But the truth is, every flash, boom, and burst of color is 100% dependent on chemistry.

Lithium creates bright red sparks, chlorine mixed with copper makes turquoise, and Titanium powder produces that deafening blast we love so much.

Wonky Fireworks Quilt

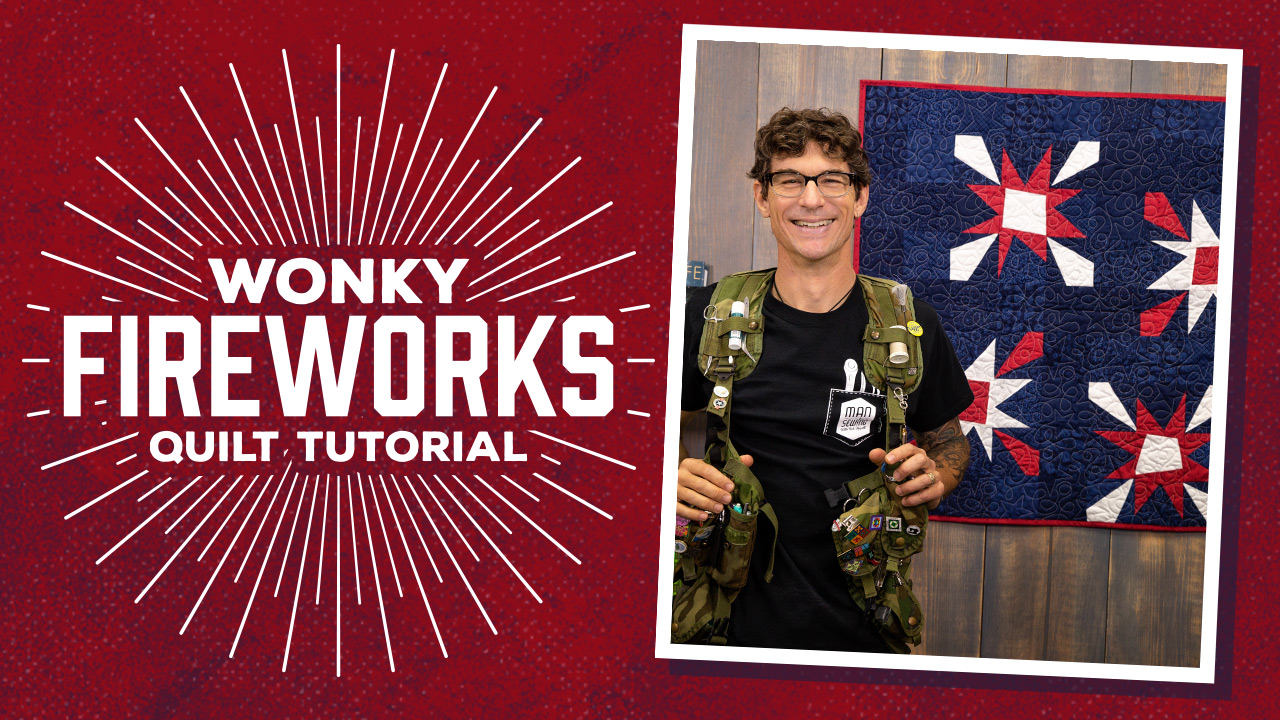
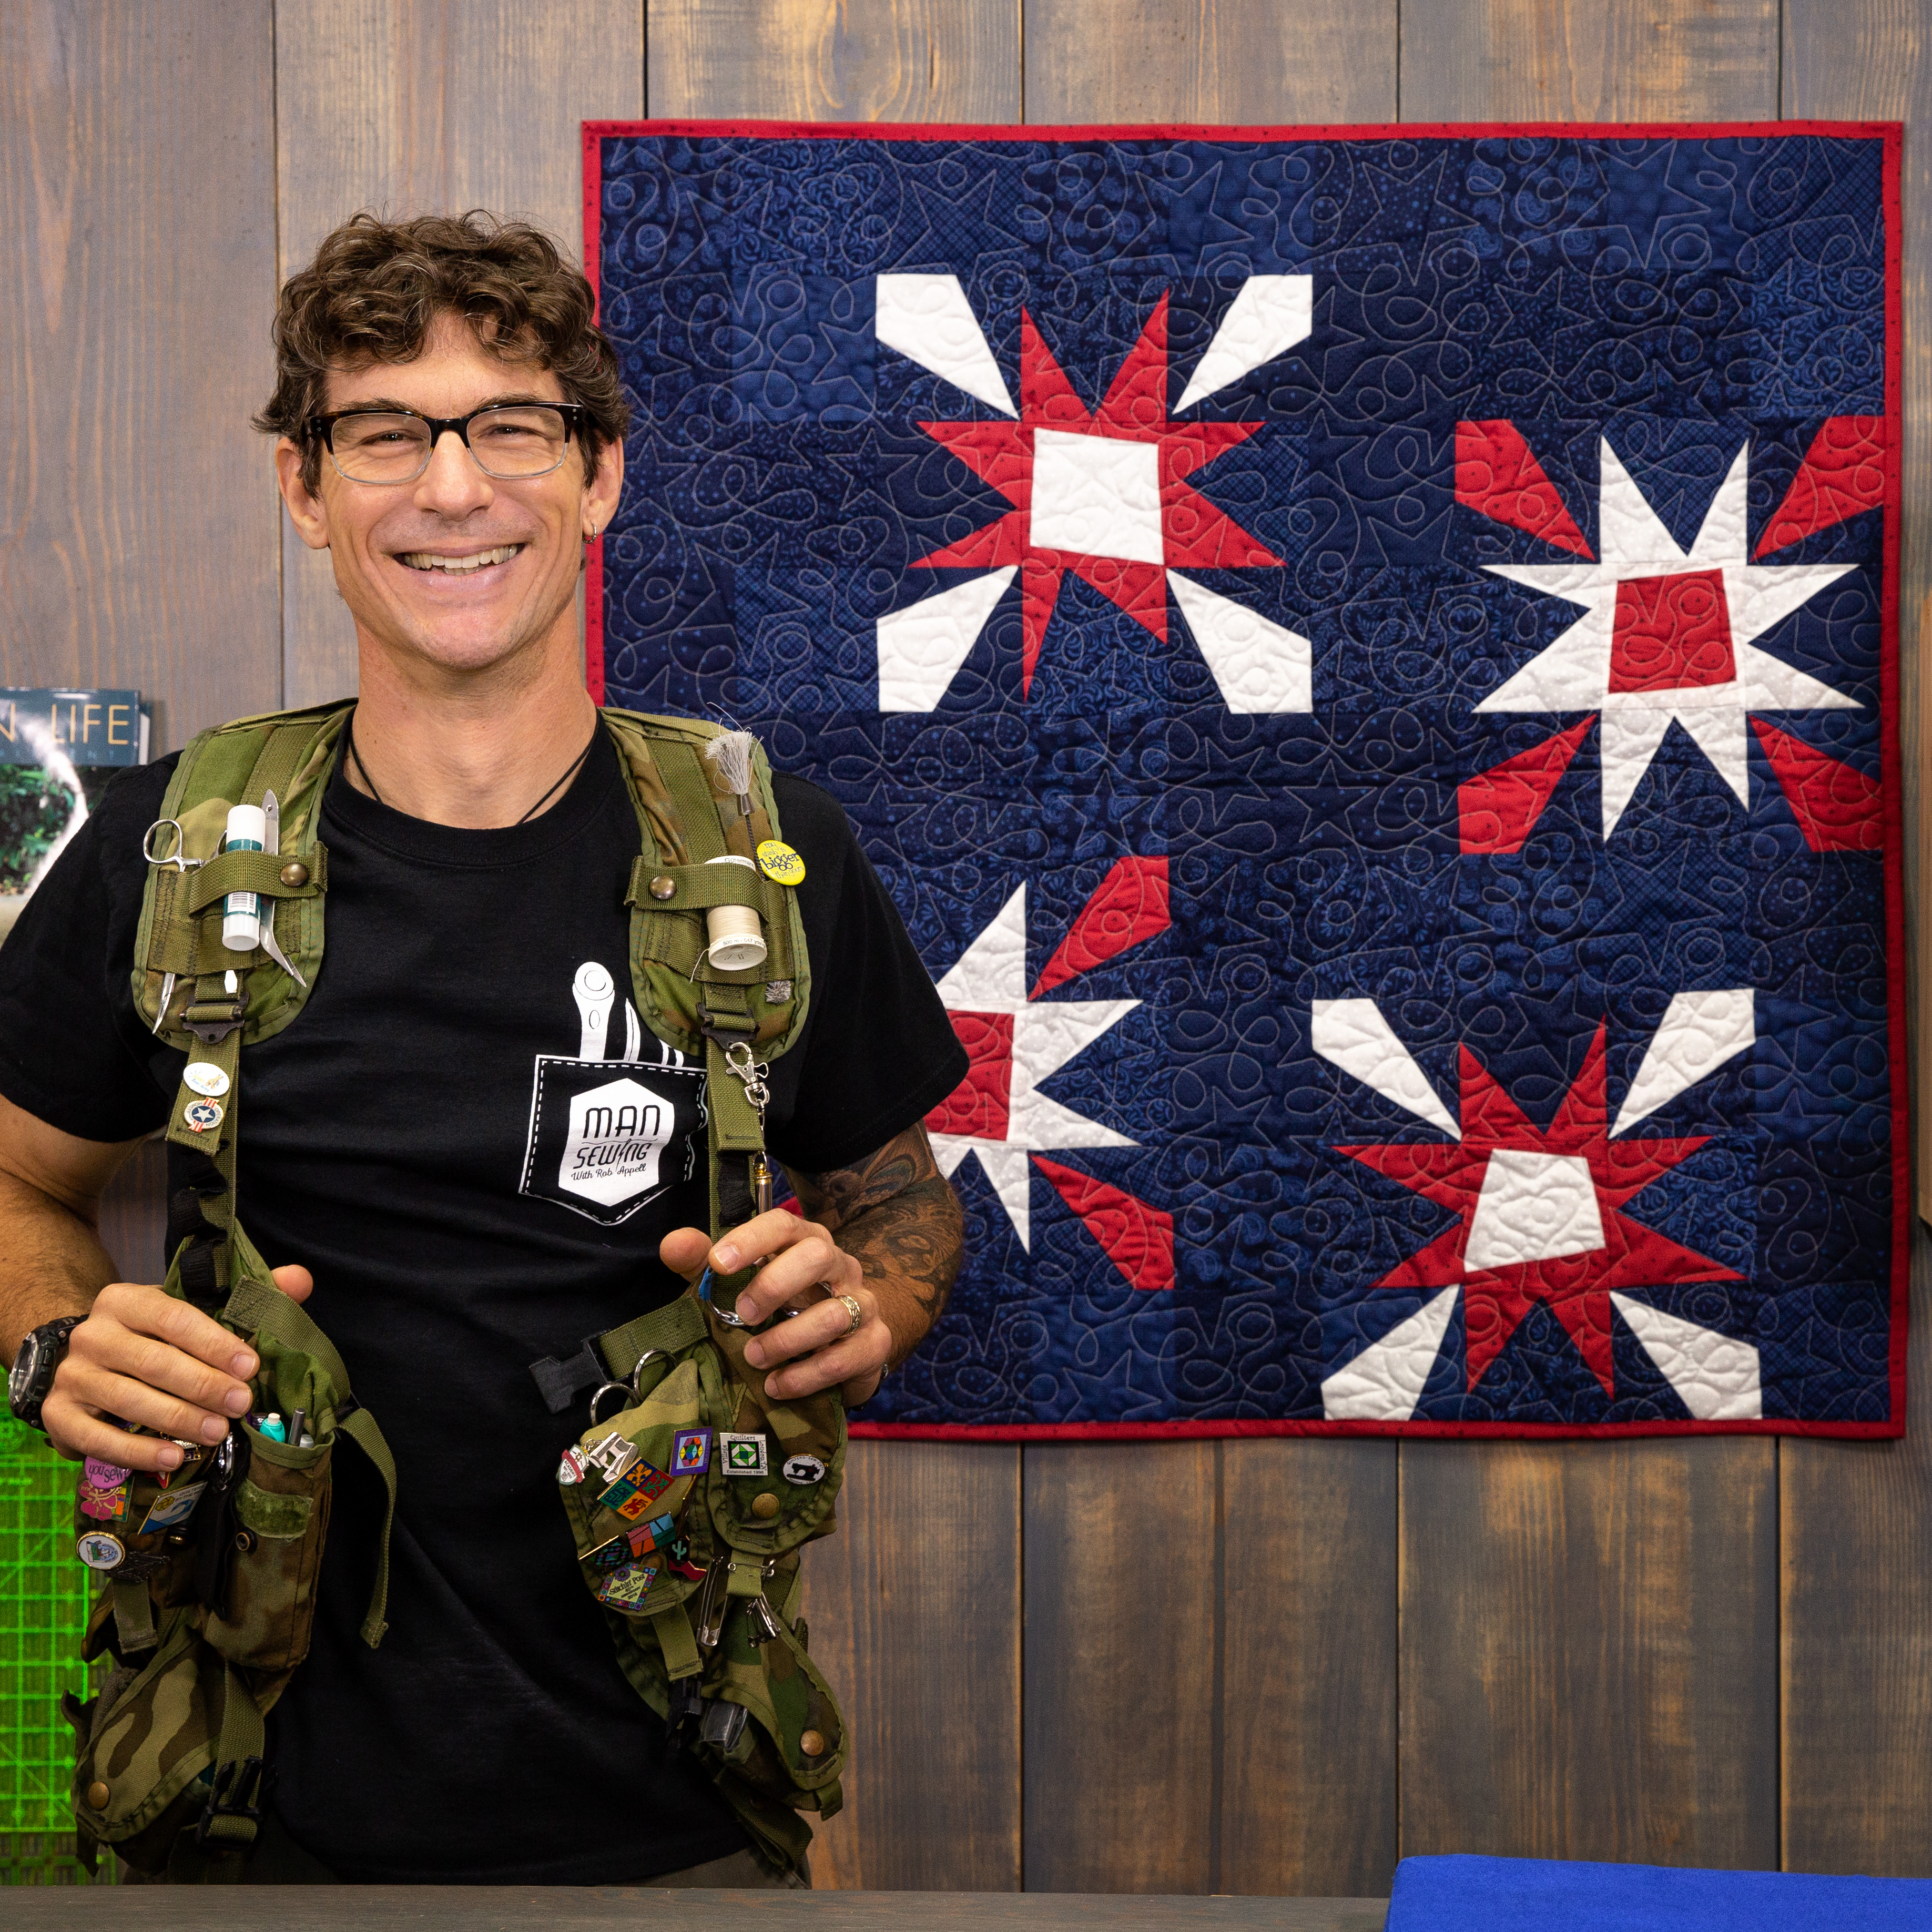
This week I’m mixing up my own recipe for fireworks using a few “In the Navy” charm packs. Click HERE to learn how to make this fun, patriotic quilt!

Check out a new tutorial every Monday!

FMQ Mariners Compass Quilt

FMQ Mariner's Compass

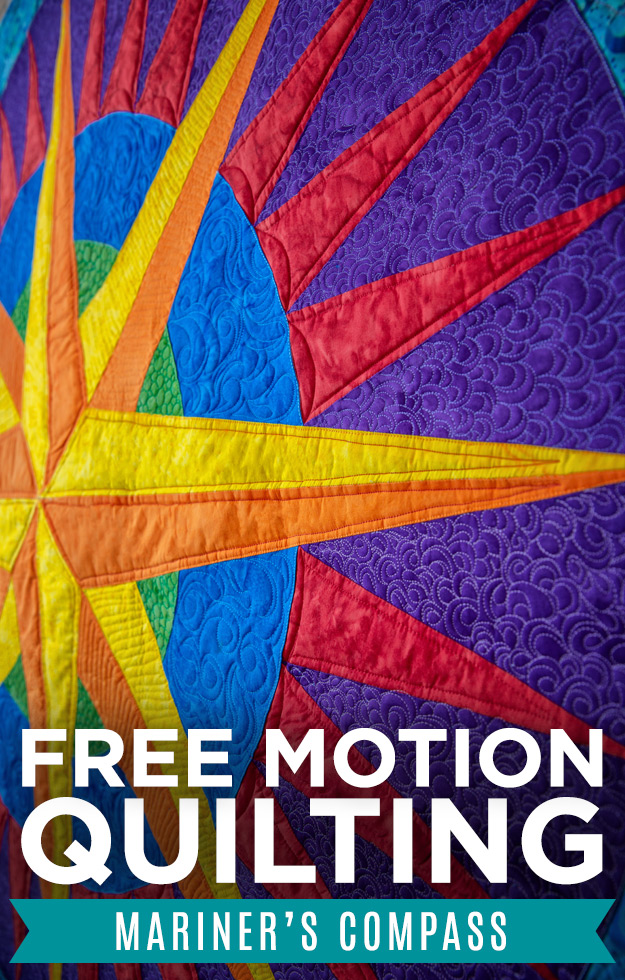
A quilt top, no matter how intricate, doesn’t have a ton of texture. It’s just…flat. That’s where FMQ comes into play. Because with a little planning, your stitch patterns can force the batting to puff – or crush – exactly where you want it.

FMQ Mariner's Compass

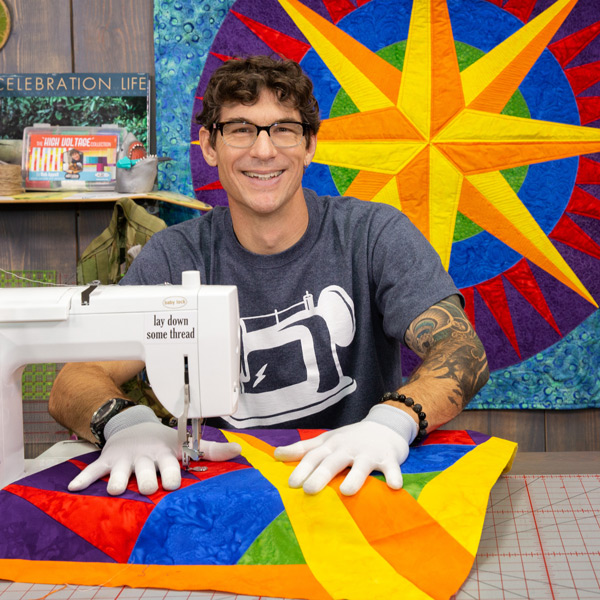
Last week I pieced together a Mariner’s Compass, and this week I’m finishing it off with an action-packed session of free motion quilting. Click HERE to learn how to give your compass quilt tons of 3-dimensional character with a few basic FMQ motifs.

Check out a new tutorial every Monday!

Mariner’s Compass Quilt!

Mariner's Compass Quilt

Mariner's Compass Quilt

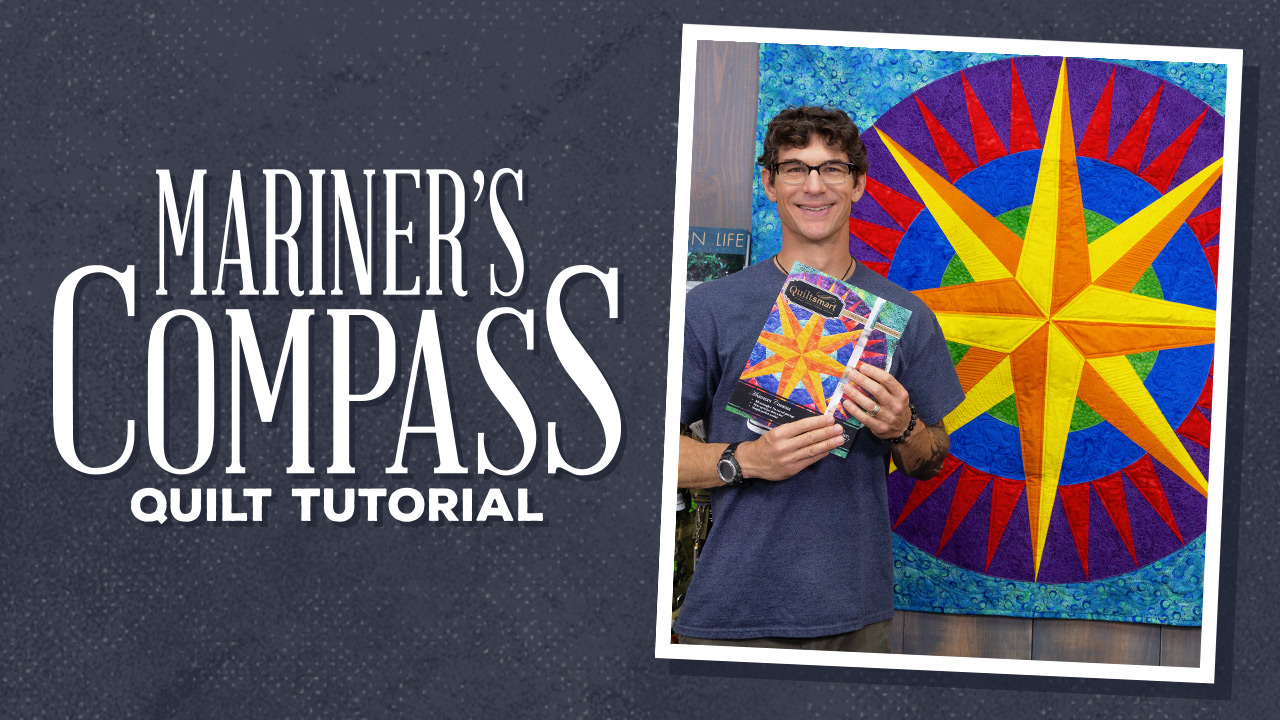
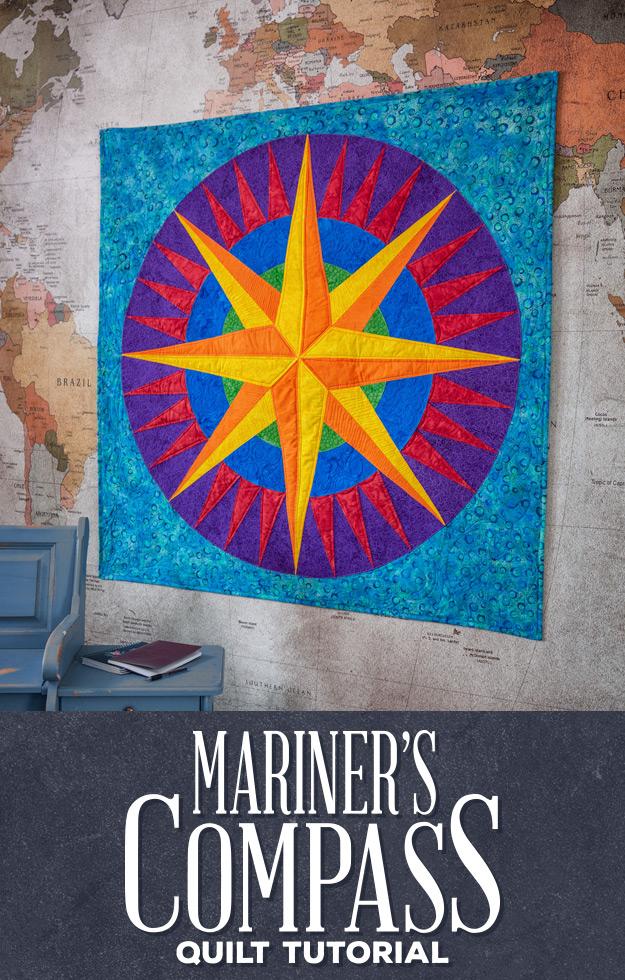
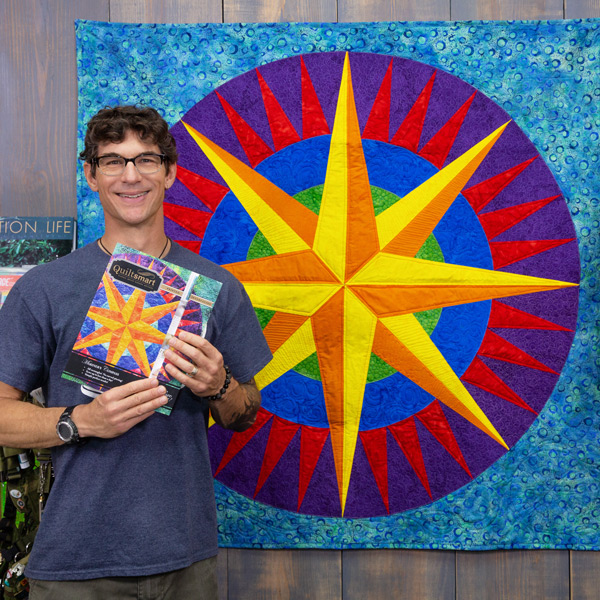
Ahoy there! Don’t be afraid! Rob’s Mariner’s Compass Quilt may look like a doozy, but he’s got a secret weapon: The Quiltsmart paper piecing pattern with printed interfacing.

Mariner's Compass Quilt

This genius product will guide you every step of the way with sea-worthy accuracy – just like a real compass! Click here to watch Rob put together this gorgeous quilt!

Check out a new tutorial every Monday!

Hypnotic Hexagons Quilt

Hypnotic Hexagons


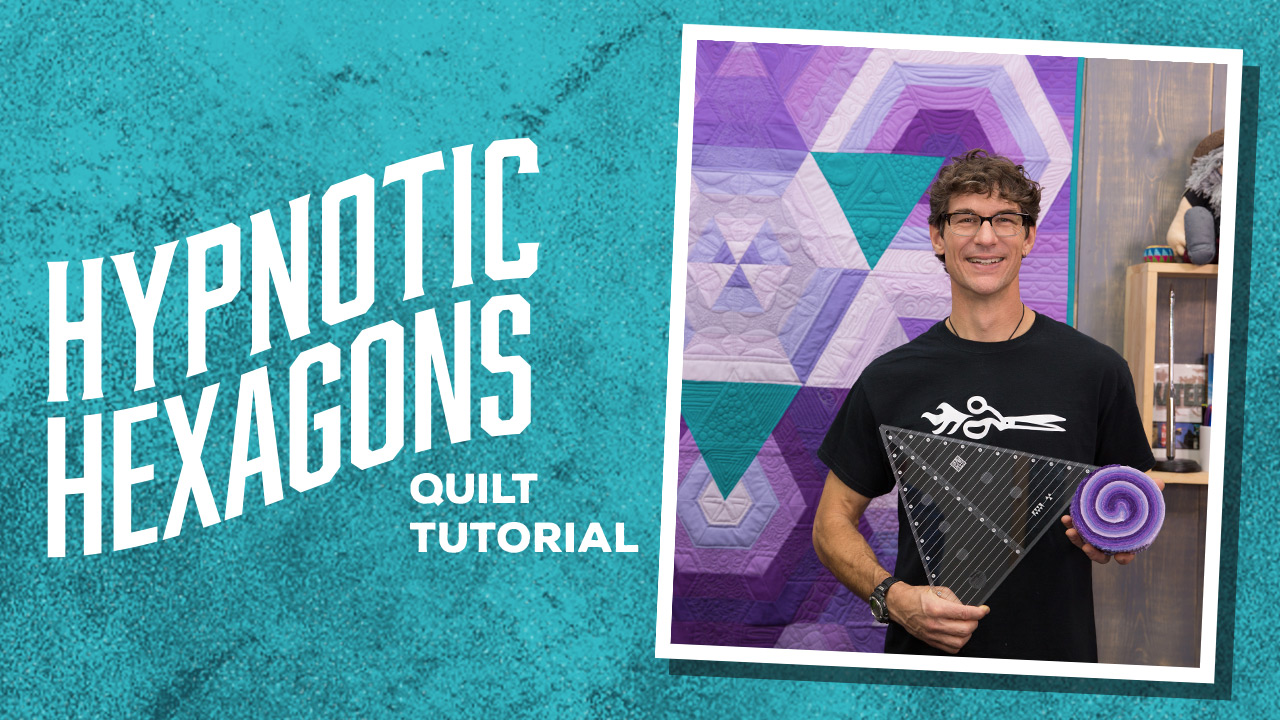
Once upon a time, a simple little jelly roll dreamed of becoming a stately hexagon. “You’re dreaming!” chided his fellow precuts. “You’ll never be anything better than a Jelly Roll Race (not that there is anything wrong with that)!”

Hypnotic Hexagon Quilt

Little did they know, that jelly roll was about to be stitched into strip sets. And those strips sets were sliced into cool, stripey triangles. And what do you think happened to those triangles? Well, they were carefully arranged into the coolest hexagons you ever did see. And they lived happily ever after as a totally awesome quilt.

Hypnotic Hexagon Quilt

Moral of the story? You can create some pretty cool stuff out of 2.5-inch strips of fabric. Click HERE to learn how to make your own Hypnotic Hexagons quilt!

Check out a new tutorial every Monday!

Quilting a T-Shirt Quilt

Quilting a T-Shirt Quilt

Quilting a T-Shirt Quilt

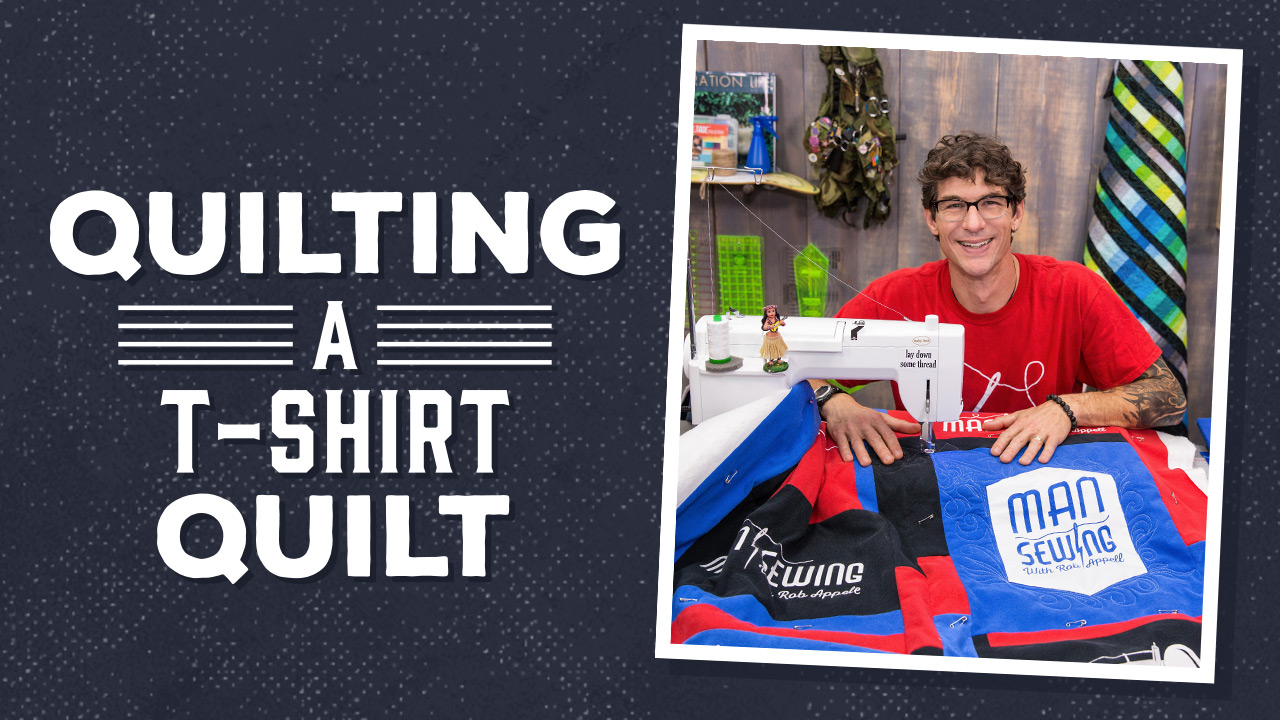
Leaving a quilt unfinished is like shaving only half your moustache. It’s like mixing up cookie dough and never baking the cookies. It’s like planting an apple tree and letting the apples fall to the ground unpicked. What a waste!

QuiltingA_T-ShirtQuiltThumbnail_2017_RE

If you’re going to spend the time and effort to construct an awesome quilt top, do yourself a huge favor and finish it so it can be used and enjoyed! This week I’m demonstrating how to baste and quilt a t-shirt quilt. (You can learn how to make the quilt top HERE.) Click HERE to watch the tutorial. I think you’ll find the finishing touches can be the best part of the entire process!

Check out a new tutorial every Monday!

How to Piece a T-Shirt Quilt Top

Piecing a T-Shirt Quilt Top Tutorial

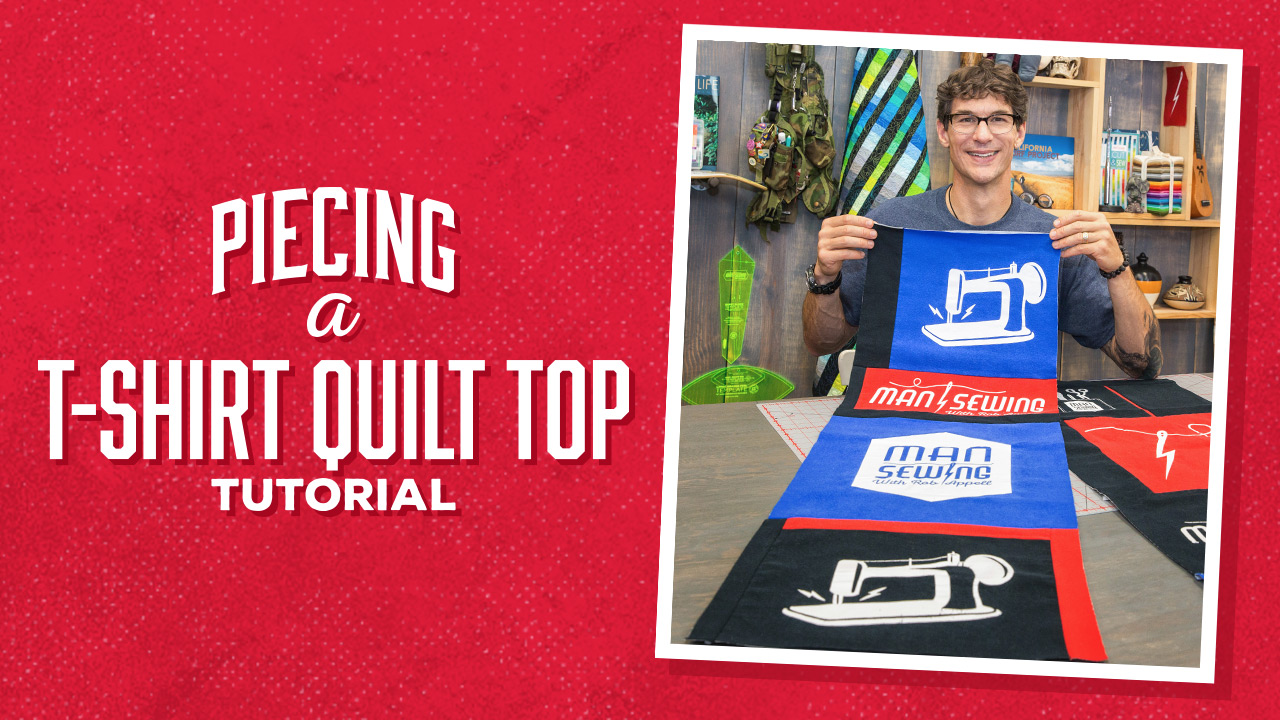
If you have a collection of cool t-shirts, it’s time to transform those puppies into a quilt! We tend to hang onto t-shirts because they hold great memories: killer concerts, unforgettable vacations, college days. Even if you don’t wear them anymore, they represent happy times.

Piecing a T-Shirt Quilt Top Tutorial

But if you think you enjoy those old t-shirts while they’re stuffed away in the back of the closet, just imagine how much you’ll love having them on display as a totally unique, totally awesome quilt. Click HERE to check out my best tips for making your t-shirt quilt a success!

Check out a new tutorial every Monday!

Traditional Stained Glass Appliqué

Traditional Stained Glass Appliqué

Have you ever tried to make a grilled cheese sandwich with an iron? Used a butter knife as a screwdriver? Hammered a nail in the wall with the heel of one of your wife’s good pumps? Sure, you can “make do,” but life is so much easier when you’ve got the right tools for the job.

Traditional Stained Glass Appliqué

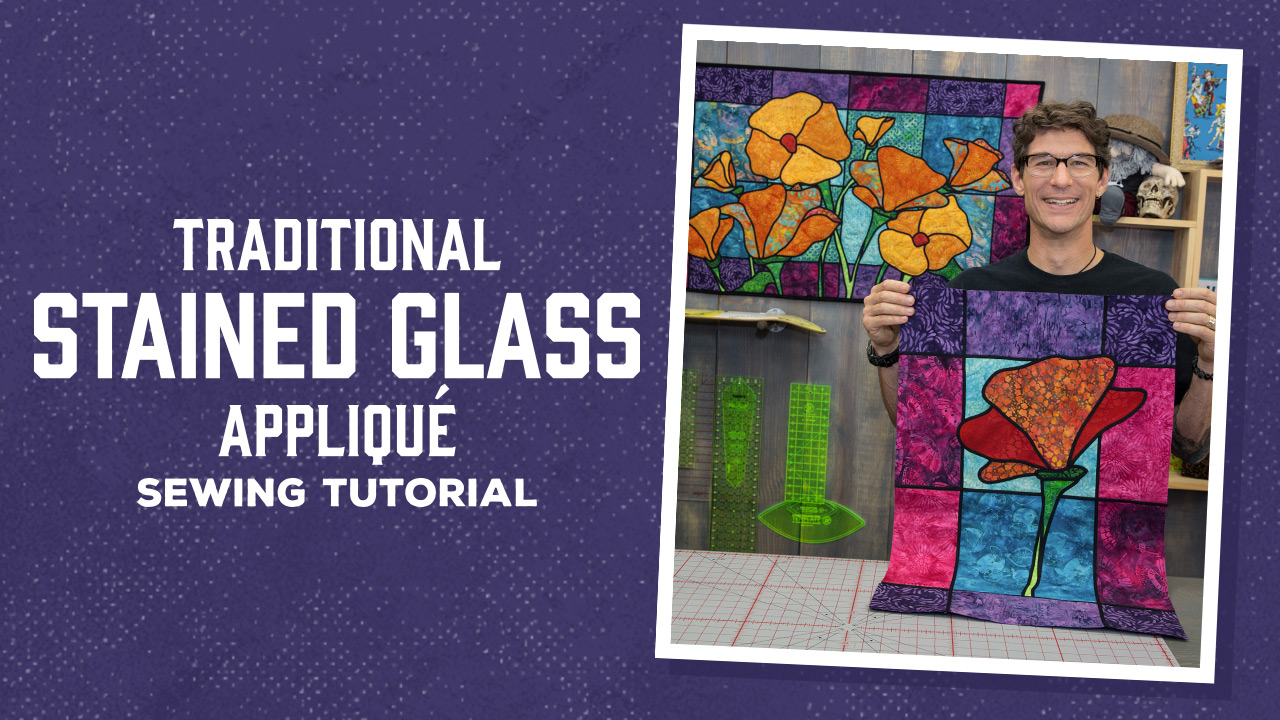
This week I’m working on appliqued stained glass. This is a super fun project, and with the right tools, it really is simple! To create black “lead” lines, I’m using heat activated Quick Bias Tape. It follows the curves of the design with ease, and my Clover Mini Iron allows me to tack it down exactly where I want it. (Of course, I’ve got my favorite stiletto tool to help with precise positioning.) Finally, I use a twin needle to stitch both edges of the “leading” in one fell swoop. Easy peasy.

Click HERE to learn how to do Stained Glass Applique the easy way!

Check out a new tutorial every Monday!

Movember Moustache Pillow

Movember Moustache Pillow

This month is Movember, and if you haven’t heard, it’s a month dedicated to raising awareness for men’s health issues, from physical to mental and all aspects in between. To help call attention to men’s health, men are encouraged to grow a moustache, and start a conversation with those around them.

Some men have the ability to grow facial hair easily, and others not so much. I have joined the no-shave November club this month (although due to filming obligations, I started my shaving vacation a week early), and I suggest you visit Movember.com to learn how you can help educate others about men’s health issues. Along with hanging up my razor for the time being, I teamed up with Missouri Star Quilt Co to create this moustache pillow!

Movember Moustache Pillow

Let me tell you how much I love this moustache pillow! It’s everything you are looking for in a facial follicle-themed creation, with cozy minky and a  cuddle-friendly design that make it the addition to your bed or couch you never knew you needed!

Movember Moustache Pillow

Read on below to learn how to make this fan{tache}tic project for yourself or that special guy in your life. To help you get started on your super ‘Stache pillow, we’ve included a FREE moustache template that you can download HERE

Moustache Pillow

Supplies needed:

1 yard of minky or cuddle fabric  (We really liked the Cuddle Embossed Rose 60” Minky by Shannon Cuddle)

Moustache Pillow Template 

4 bags of Poly Fil

Scissors

Pins

Step 1: Gather supplies and print off and tape together the moustache printable

Step 2: Fold 1 yard of minky/cuddle fabric vertically (on the long so that it is approximately 60 by 18 inches and pin together, right sides together (with the fuzzy side facing in)

Step 3: Print off your moustache template. We printed off two templates so that we could cut out the complete moustache, but you can easily flip the template after you finish cutting one side if you would like.

Step 4: Pin the pattern to the fabric. We pinned our moustache about every 3 to 4 inches, and used a few more pins around the curves to keep everything in place.

Step 5: Cut out your ‘stache using a pair of fabric scissors. 

Step 6: With the right sides still together, start sewing! We used a serger on ours, but you can use a standard sewing machine. We recommend you use a zig zag pattern for extra security.

Step 7: Sew around the entire moustache, but leave a 6-inch opening so you can stuff it. We used almost four entire bags of Poly-Fil so we have a nice, full ‘stache

Step 8: Hand sew the opening closed using a blindstitch, and you are ready to rock your moustache pillow!  

Step 9: Have some fun! What good is a moustache pillow without a ‘stache selfie?! Be sure to share yours with me on the Man Sewing Facebook or Instagram using #mansewing #movember

Movember Moustache Pillow

Movember Moustache Pillow

I hope that this tutorial for your very own moustache pillow will help you create something that will serve as a reminder to take care of yourself, and to encourage the other men in your life to do the same!

Movember Moustache Pillow

English Paper Piecing with Violet Craft

English Paper Piecing with Violet Craft

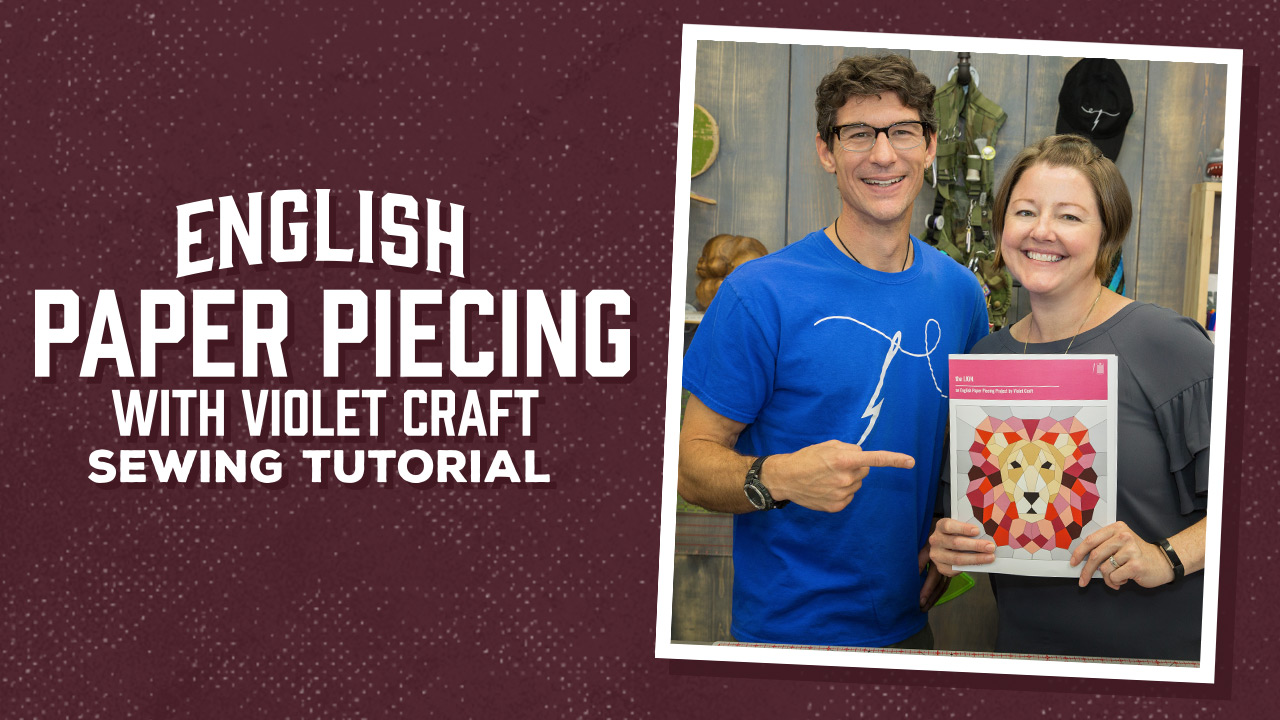
Imagine, if you will, a quilting superhero. She has out-of-this-world sewing skills, creative talents that defy description, and the superhuman ability to simplify even the most intricate projects.

English Paper Piecing with Violet Craft

Folks, I’m here to tell you that such a person does exist, and she has a name befitting her talents. Ms. Violet Craft is in the studio today to share her knowledge of English Paper Piecing. Click HERE to watch the tutorial and pick up your “The Lion” kit. This is one project you won’t be able to put down!

Check out a new tutorial every Monday!

Foldover Bag

Make a Foldover Bag with Man Sewing's Rob Appell!


Make a Foldover Bag with Man Sewing's Rob Appell!

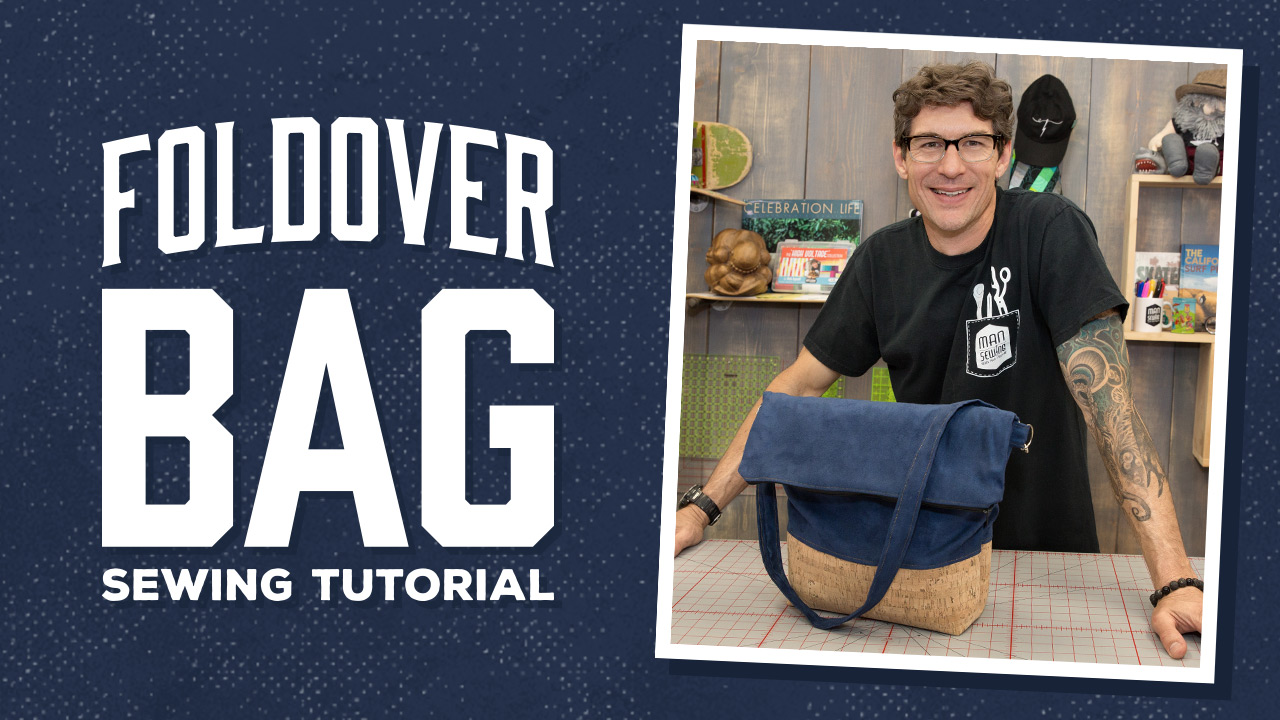
I’m here to tell you, no matter who you are, you need a bag! Today I’m working on a lined Foldover Bag with a zippered pocket, a heavy-duty strap, and a super durable cork fabric bottom. This bag would look awesome on a man or woman, and construction is a blast. Click HERE to watch the tutorial!

Make a Foldover Bag with Man Sewing's Rob Appell!

(You may remember that I used cork fabric in my Streamline Wallet tutorial. Cork fabric is a high-quality product, so you pay a little more upfront, but it wears like leather so it’s an investment worth making! Plus, you can order one roll and get two awesome projects out of it!)

Check out a new tutorial every Monday!