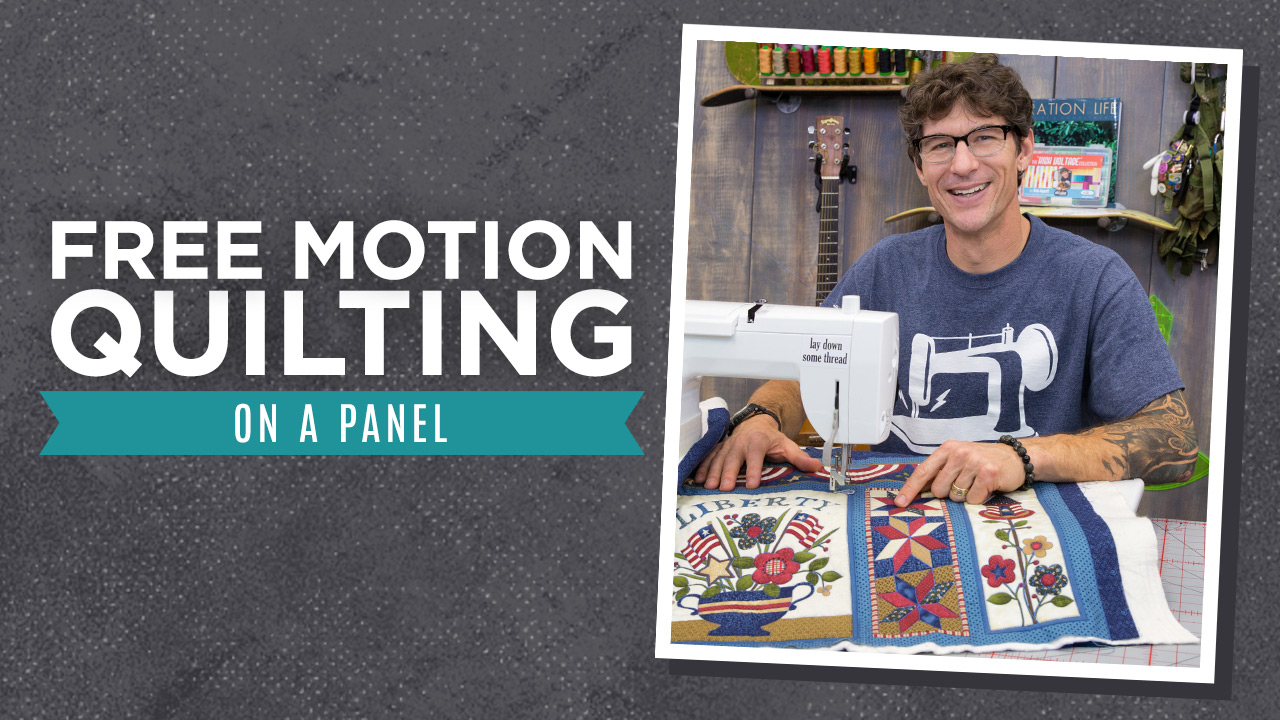
I’m a free motion kind of guy. My quilts are like blank canvases just waiting to be filled with pure creativity. But this week, I’m actually “coloring” inside the lines.
Free motion quilting on a panel is like target practice. As you stitch along the printed designs of your panel, you get a feel for the pace and movement of machine quilting. Bonus: because you’re practicing on a panel rather than scraps, you’ll end up with a totally useful quilted project. Click HERE to watch the vid!
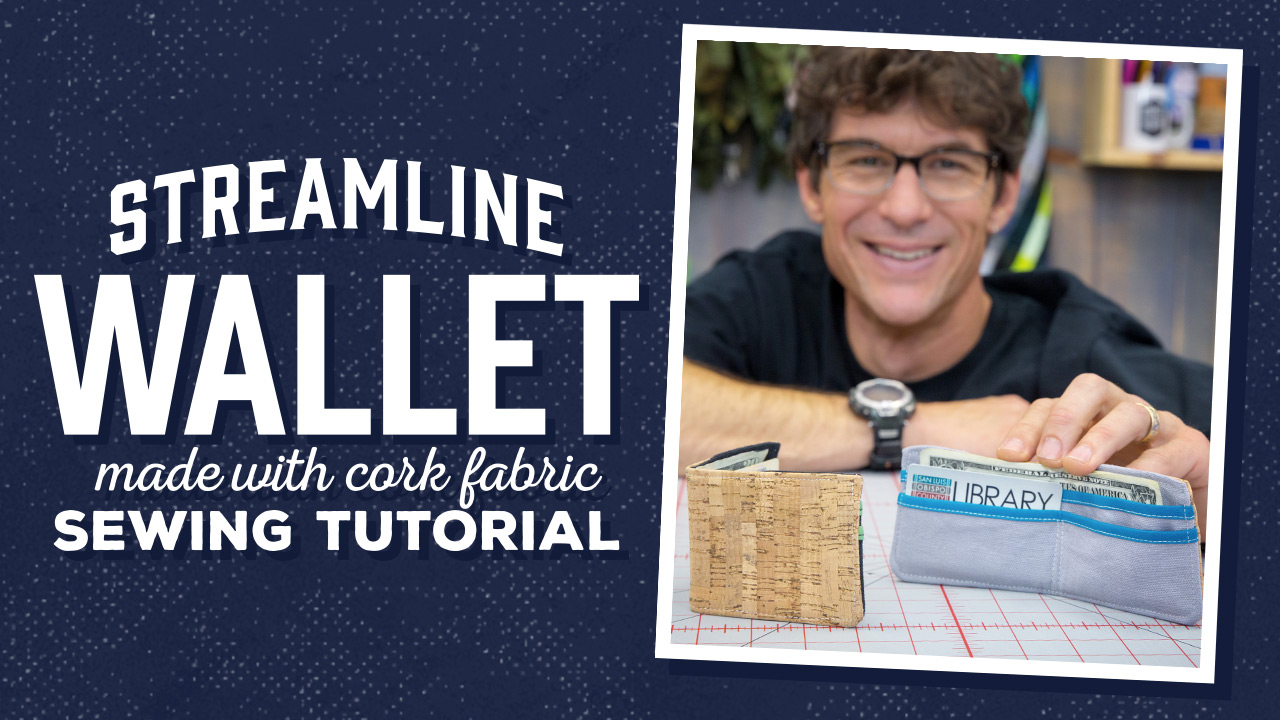
Cork fabric is made from the bark of the cork oak tree. And the cool thing is, these trees are able to regenerate their bark, consuming massive amounts of carbon dioxide in the process. Talk about “green!”
The fabric is waterproof and stain resistant. It wears like leather and is super lightweight and durable. In short, it’s the perfect choice for my Streamline Wallet. Click HERE to learn how to make this cool little project!
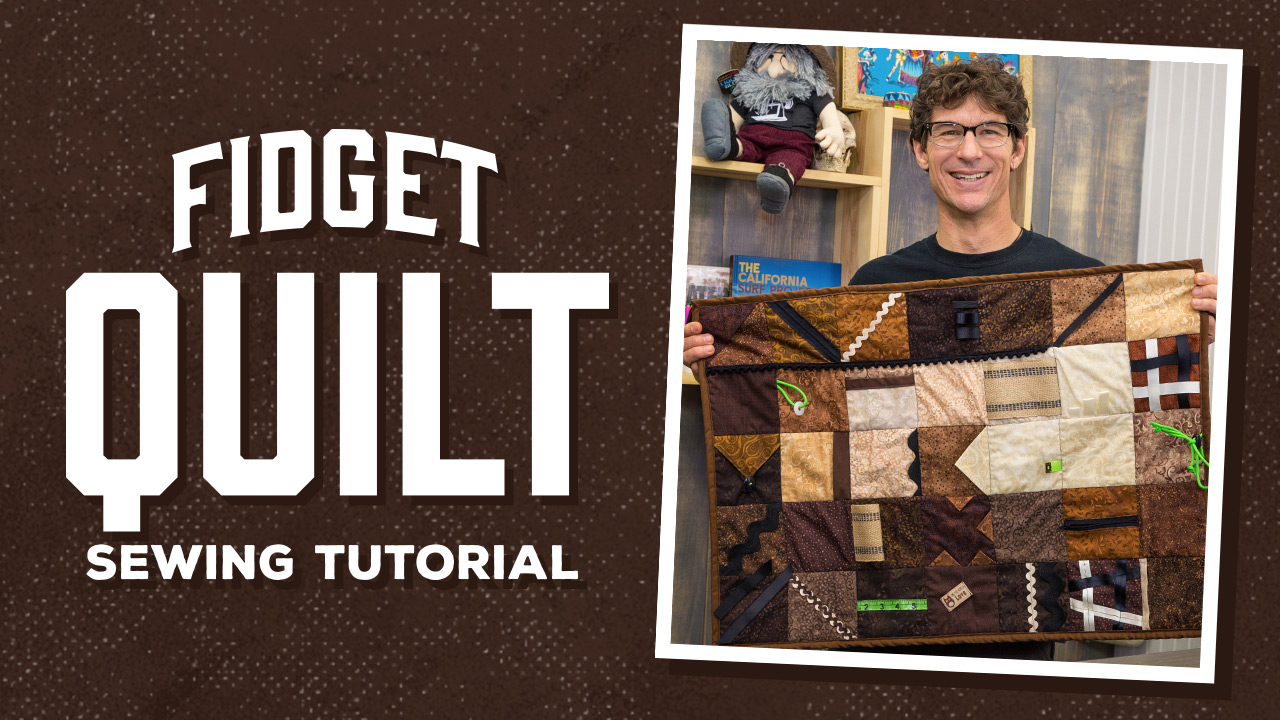
A fidget quilt is outfitted with a variety of textures and moveable parts: prairie points, ric rac, pockets, velcro, zippers, you name it! It’s purpose is to occupy restless hands and soothe anxious minds – all while keeping your legs warm.
Fidget quilts can provide tons of comfort to individuals with Alzheimer’s or other forms of dementia, and fiddling with those little parts and pieces is great exercise for the mind as well as the hands. (They are also great for kids and adults with ADHD, ADD, or autism.)
These quilts are super fun to make, and they bless the lives of those who receive them. Click HERE to watch the tutorial!
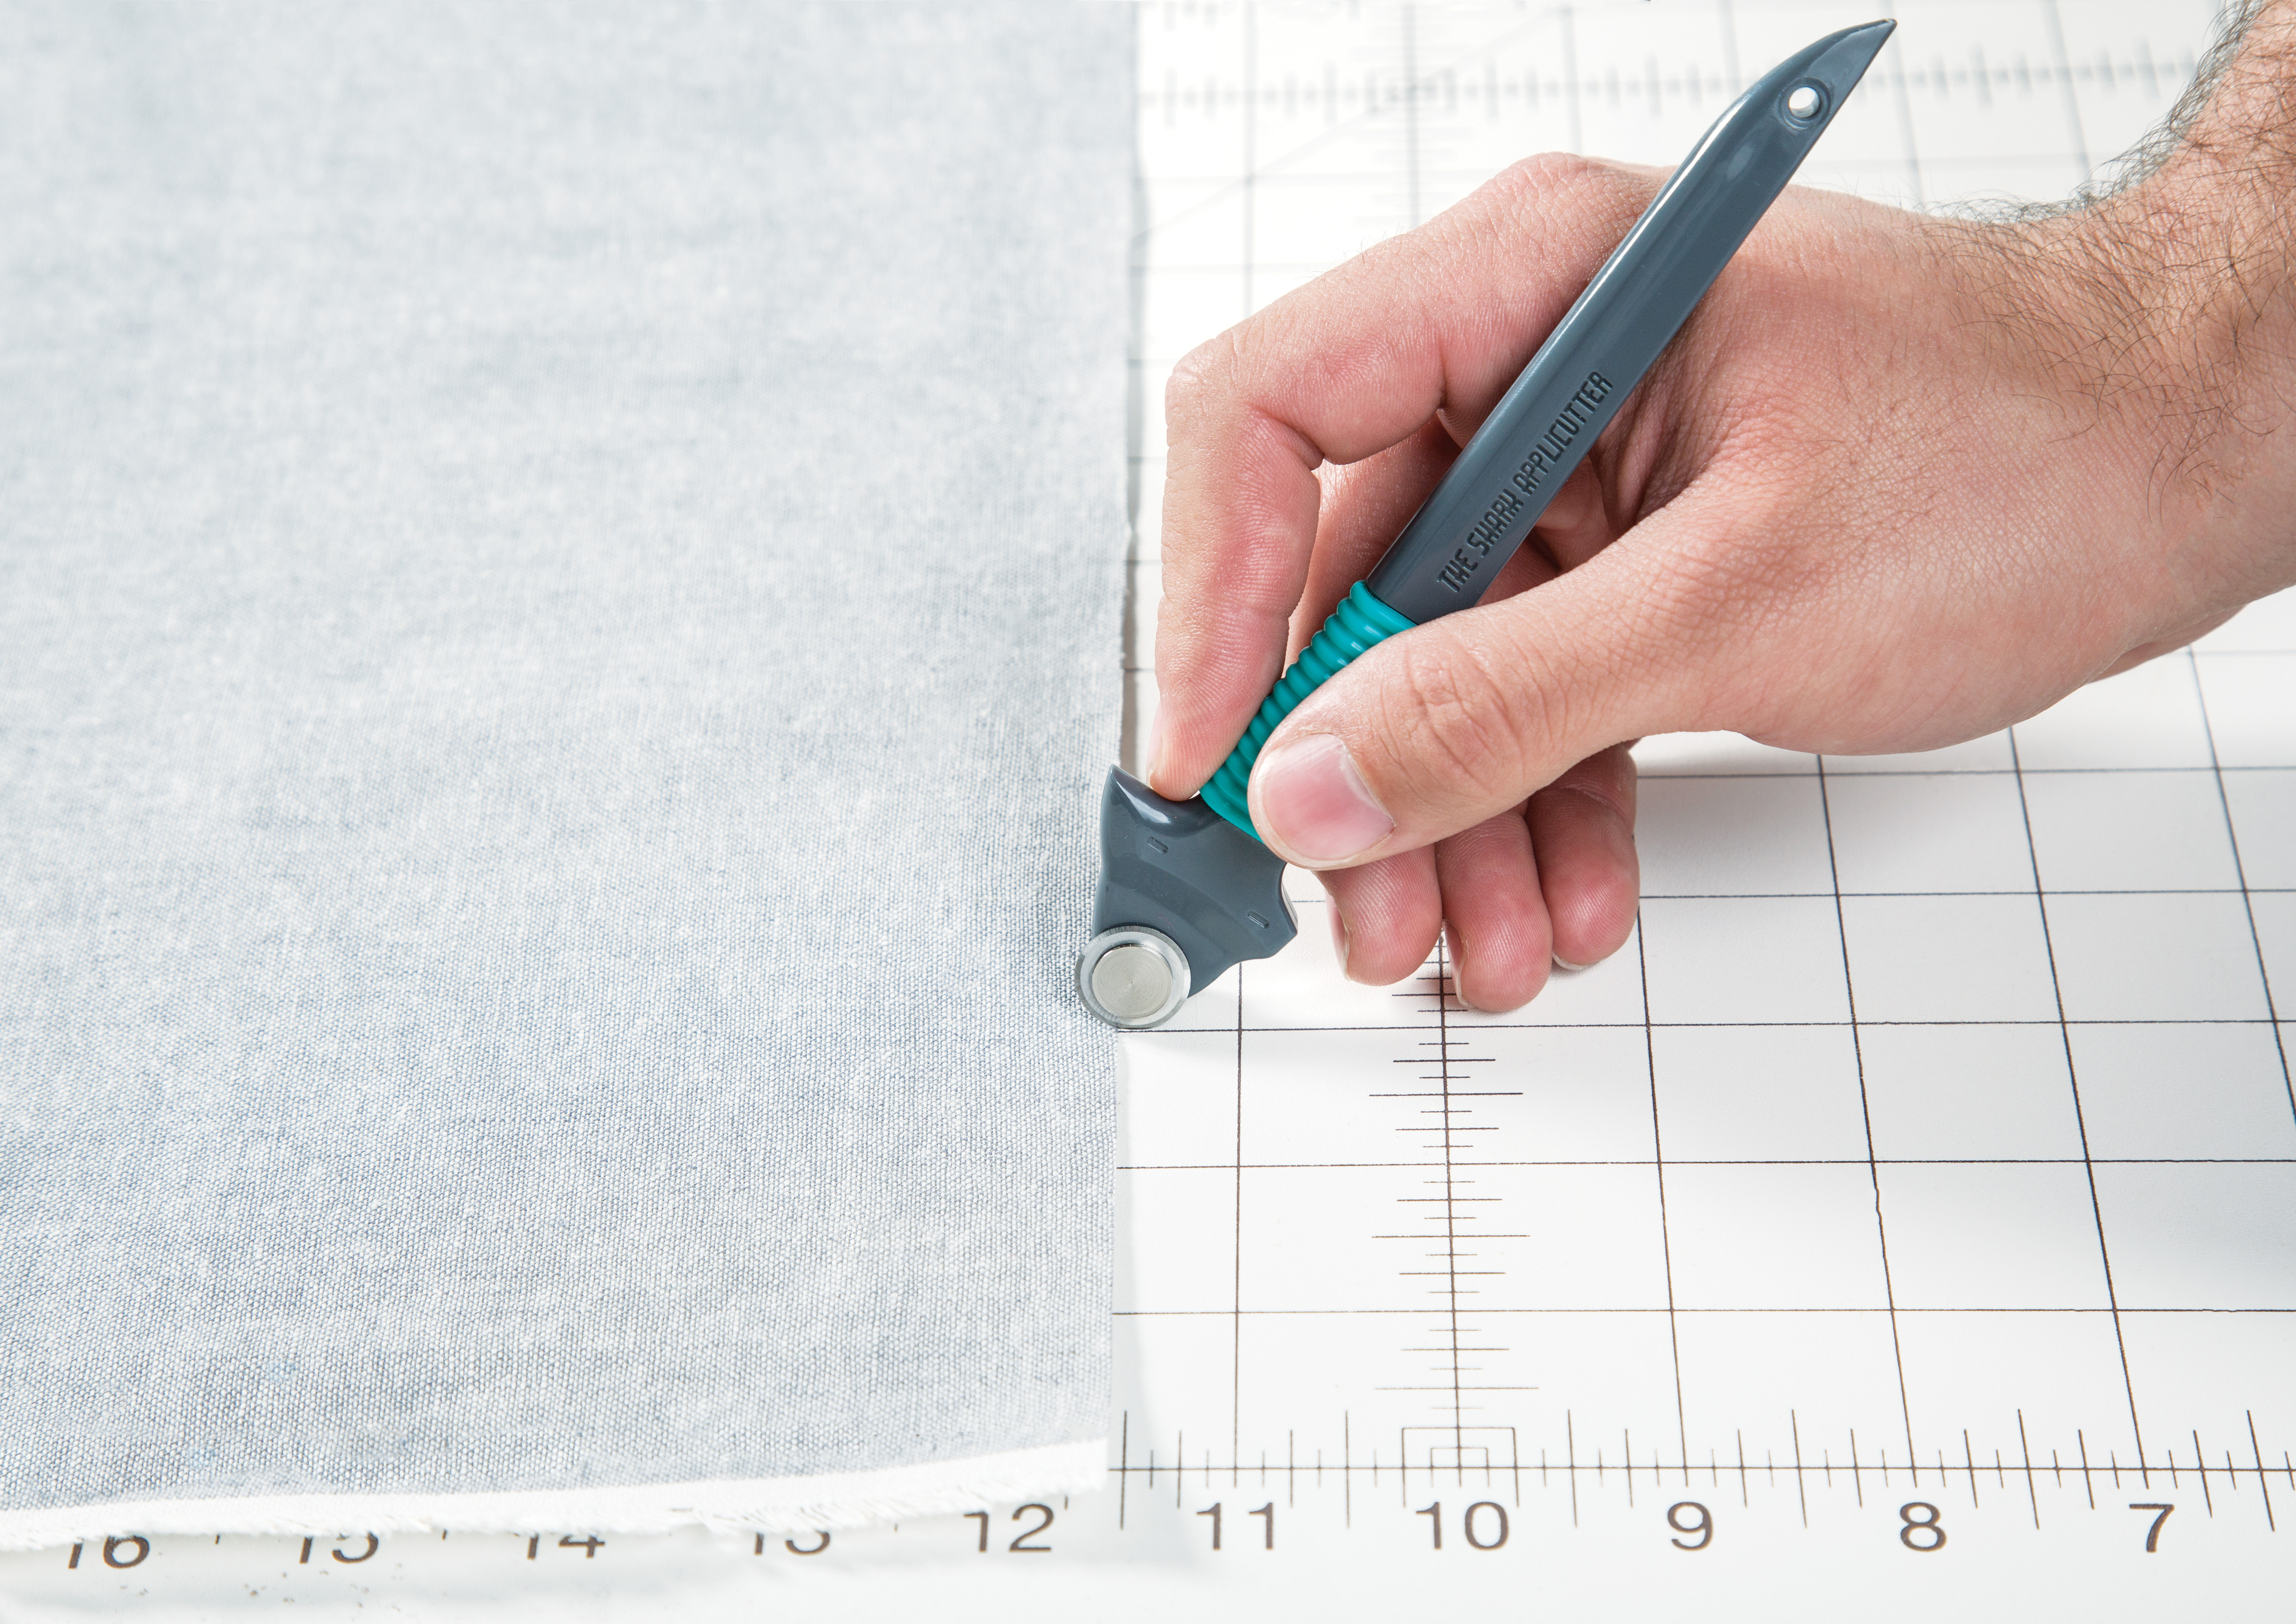
I began work on the Shark Applicutter more than five years ago, and the reason I invented it was a safety issue. I had started using the smallest rotary cutter I could find, an 18mm, to cut out the shapes used in my Endangered Species project. These quilts featured an “up close and personal” portrait of each endangered animal and required a lot of intricate cutting. As we all know, necessity is the mother of invention, so I started using my rotary cutter in a new way, holding it like a pen instead of using an overhand grip. When I used it this way, I could twist and move it more freely, but it had a few drawbacks. I started teaching my classes with the 18mm rotary cutter, but I noticed that many people were struggling to cut with it safely and accurately due to arthritis and other issues. As I listened to their concerns, I realized that adding a bump, like the dorsal fin on a shark, would make it safer to use and more accurate.
While I was on a teaching trip in Hawaii, I found myself sitting on a beach in Kona, mulling over a few ideas when inspiration struck me. I looked over at this chunk of old surfboard sticking out of the sand next to me and suddenly realized that I could use resin to make an amazing handle for the applicutter. At the same time I had been working on the rotary cutter handle back home, I was also making plastic water bottle spaceships with my son. The two projects came together in my mind right there on the beach. My son and I had been adding these little plexiglas wings onto water bottles and as I looked at that surfboard I realized I could make a handle from the same materials. Right when I got home, I went right to work creating the first prototype and immediately proved to myself that it worked fantastically. Now all I needed was a company to make it.
I saw a need in the industry for a better tool and a safer tool and I feel really proud of what I’ve created. It took a couple years for everything to come together and by the time I was about ready to sell it at quilt market, I began talking to people at Missouri Star Quilt Co. about the Shark Applicutter and they helped open the door. It was actually part of my interview when I joined the company. I had a silver, James Bond briefcase with me and I presented my product to them. They thought it was genius! I was ecstatic to join the MSQC family as the face of Man Sewing, and amazed that they believed in my product and in me.
It has been a five-year process to bring the Shark Applicutter to where it is today and the time just flew by. I had been so busy with everything else in my life that I felt like God helped me from start to finish. It was such a fun mission for me to take on; it has really been a fantastic ride. I can’t wait to see where it will go from here!
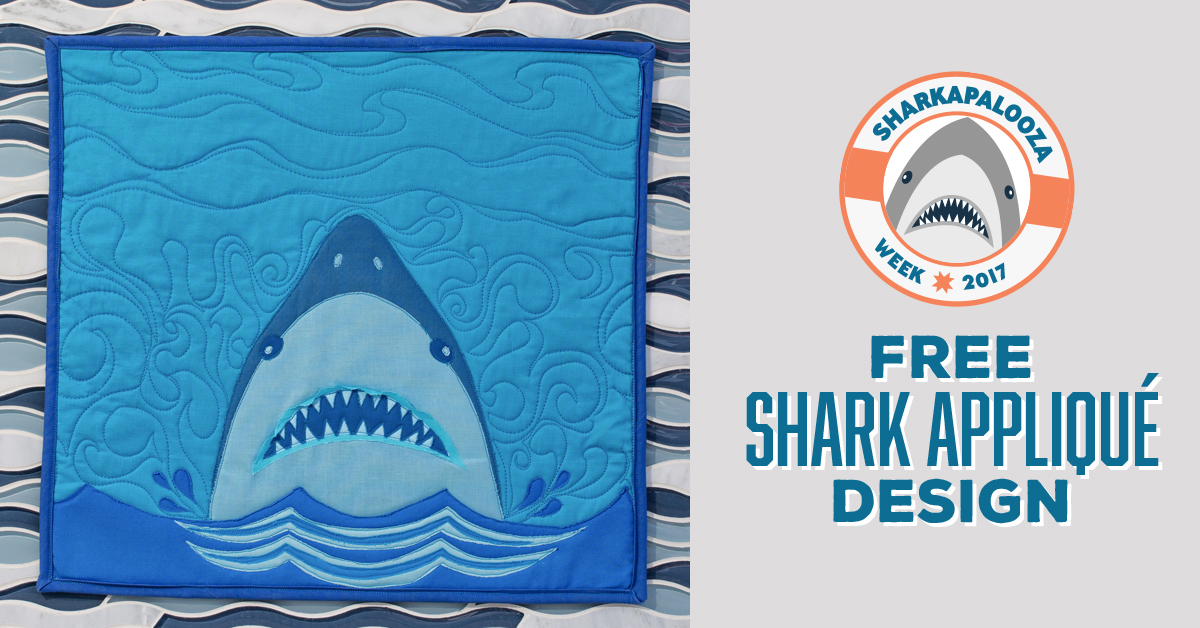
I knew the first ever Sharkapalooza Week at Missouri Star Quilt Co and Man Sewing had to be special, and what better way to celebrate this fintastic week, than with a FREE Shark Applique Design download!
To make this project, I grabbed my trusty Shark Applicutter, a Colors of Moda–Blues Fat Quarter Bundle, and some Heat N Bond Feather Lite and ironed on some fusible before I dove into cutting! Once I had all of my pieces ready to go, I went directly to my sewing machine…I couldn’t wait to see this shark come to life! After sewing the appliqué, I used a remaining fat quarter as a backing, added some batting and created a shark sandwich! Then came my favorite part, the free motion quilting! I added some splashes and waves to give our Shark friend a fun place to hang out!
I had a whale of a good time creating this applique design, and I’m sure you will too! I turned my Shark Applique into a 18.5” by 17.5” wall hanging, and I think this design would look great on nautical-themed quilts, pillows and more!
If you want to see how the project came together for me, check out this stop-motion video on my Man Sewing YouTube channel!
Stitch in the ditch is a style of machine quilting that simply follows the seam lines of the quilt top. The trouble is, all those layers of fabric and batting can really bog down the operation.
My advice? Swap out your presser foot for a walking foot. The walking foot is like “4-wheel drive” for your machine. It gently guides the top layer of fabric in sync with the feed dogs, so everything stays smooth and properly sandwiched.
Click HERE to learn how to stitch in the ditch with your walking foot!
The second week in July is marked on my calendar all year long. As the days get longer, I look forward to my week in Sisters, Oregon, as a time to share my love of quilting with those who descend on this sleepy town for a magical week of quilting and the outdoors.
Quilter’s Affair is always a fun time. It’s a reunion every year–reconnecting with quilters from across the world. like Sarah Fielke from Australia (I used her fabric in my Weighted Pin Cushion tutorial, which you can watch here!), Rosalee Dace from South Africa or Laura Wasilowski from lovely Elgin Illinois (inside joke). The comradery among the instructors is amazing! We all chip in to help one another, show support at each other’s trunk shows, trade sewing stories, and make plans for collaboration on future projects. I always learn a lot each year, and take home tons of inspiration from my fellow quilters .
So much knowledge and expertise is shared at the Teachers Tent! Pictured here are (L-R) Sarah Fielke, Tula Pink, Joe Cunningham, and me!)
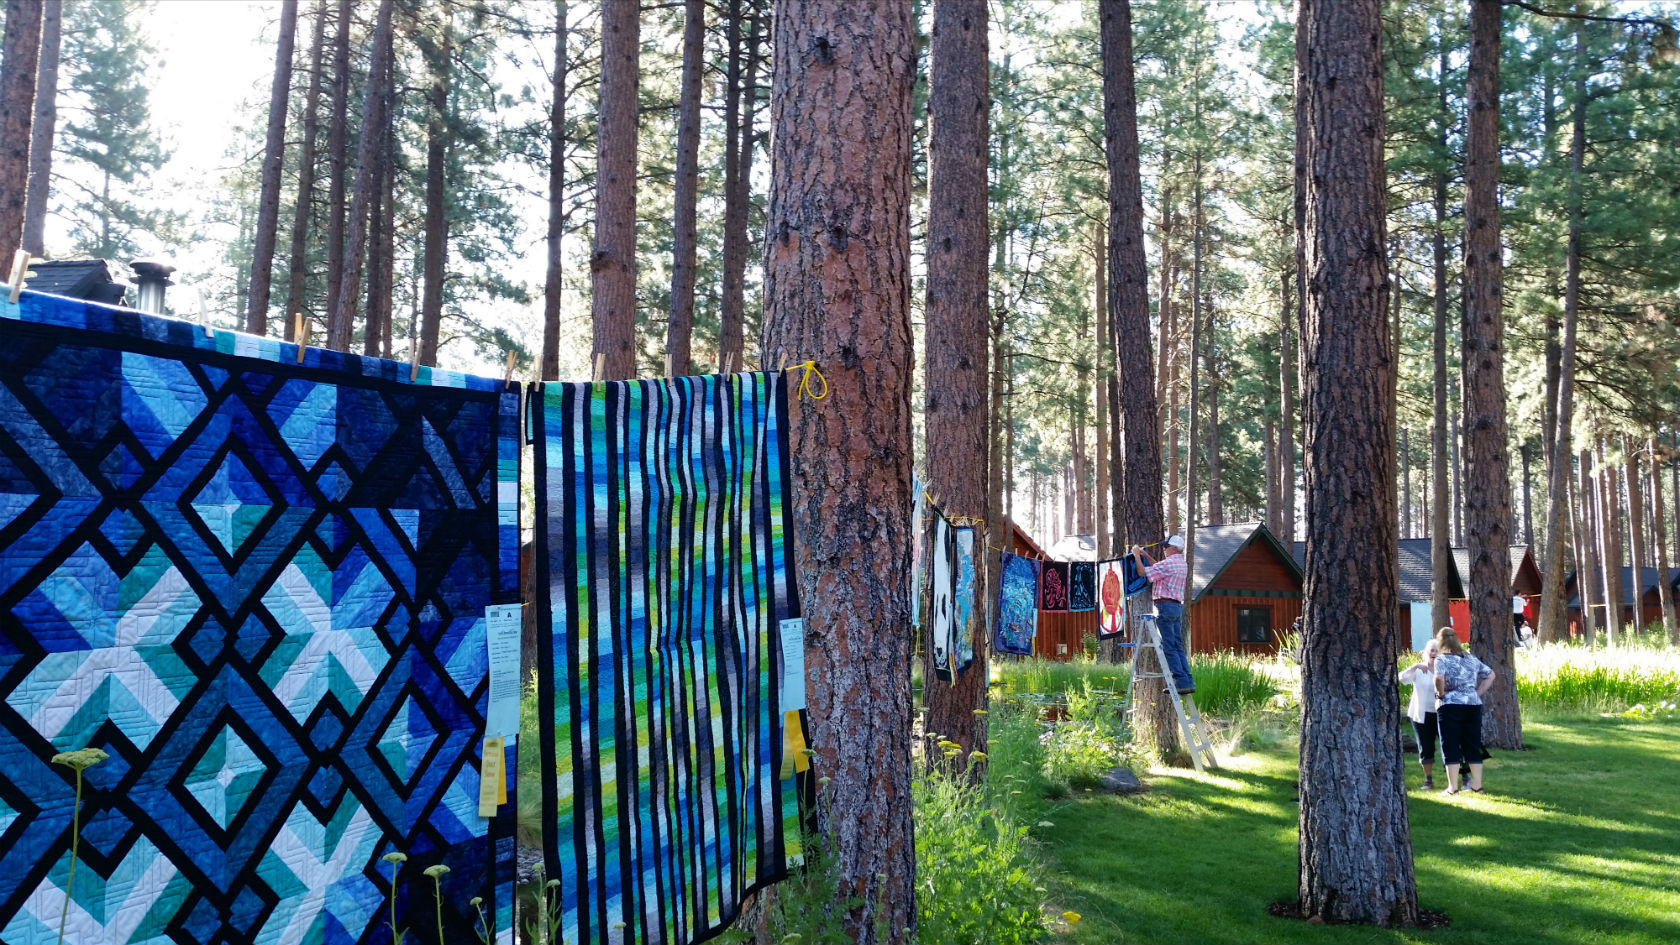
This year, I was honored as the featured artist at the “Save it for Sunday” exhibit at Five Pines Lodge. Seeing my quilts among the trees was an amazing feeling. I find so much inspiration for what I do from nature, especially Sisters, that returning the quilts to where they were essentially created just seemed right.
Save it for Sunday at Five Pines Lodge was an amazing experience!
Seeing my sixteen-plus years’ worth of quilts on display got me to thinking about how my quilting has evolved. On Sunday, my quilts were displayed by color, not by the linear storyline that I usually show during my trunk shows. Displayed this way, it looked like a number of different quilters made these, which led me to think about how I have progressed as a quilter. In the beginning, I focused on creating visual art through intricate applique landscape and seascape quilts, and as I have progressed on this journey, I am now experimenting with patchwork and color, going back to the fundamentals of patchwork style quilting, with the added Man Sewing twist. I’ve gone backward in design, but forward in quality as I’m learning to design in color and patchwork rather than applique.
Stitch by stitch and quilt by quilt,I know my quilting journey continues, and no matter where it leads me, I know where I’ll be the second week of July in 2018.
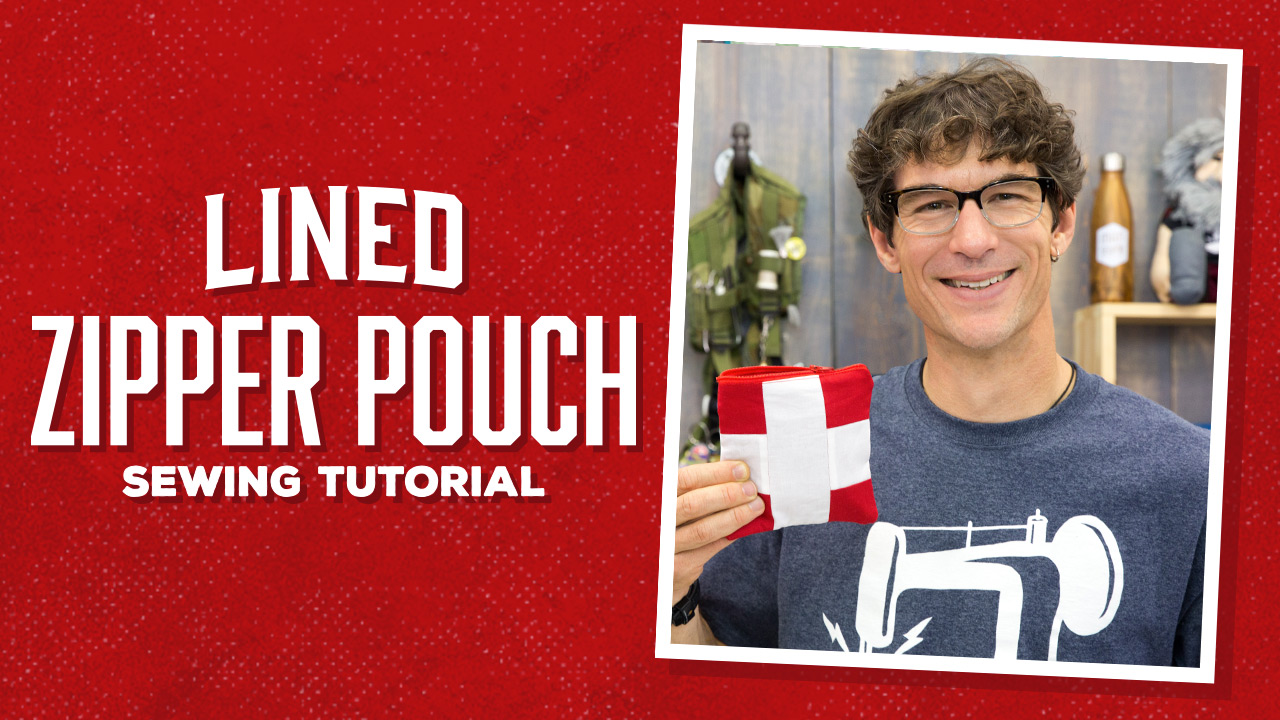
Zipper installation is a must for any sewist, but it can be pretty intimidating at first, so this week I’m making it easy. I’m working on a simple zippered pouch that is designed to fit a small 1st aid kit. (Of course, you can customize your pouch to fit anything under the sun!)
It’s a cool project that is super versatile, and I’ll share my best tips for perfecting those zipper skills. Click HERE to watch the vid!
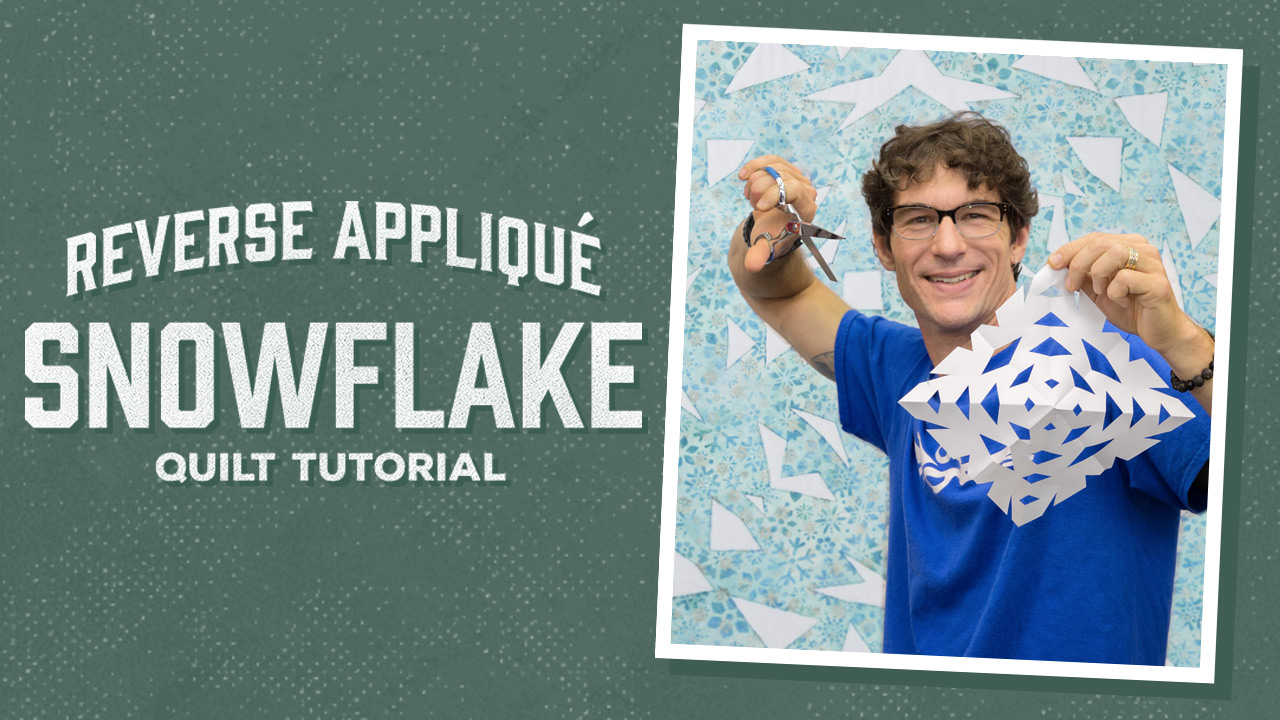
Do you remember making snowflakes in grade school? We’d fold the paper into an itty-bitty triangle, snip out shapes with little safety scissors, and then open it up to reveal a frosty masterpiece. Good times!
Today we’re kicking it back to those school days, but this time we’ve brought along our best sewing shears and a yard of batik. Click HERE to learn how to make an applique Snowflake Quilt!
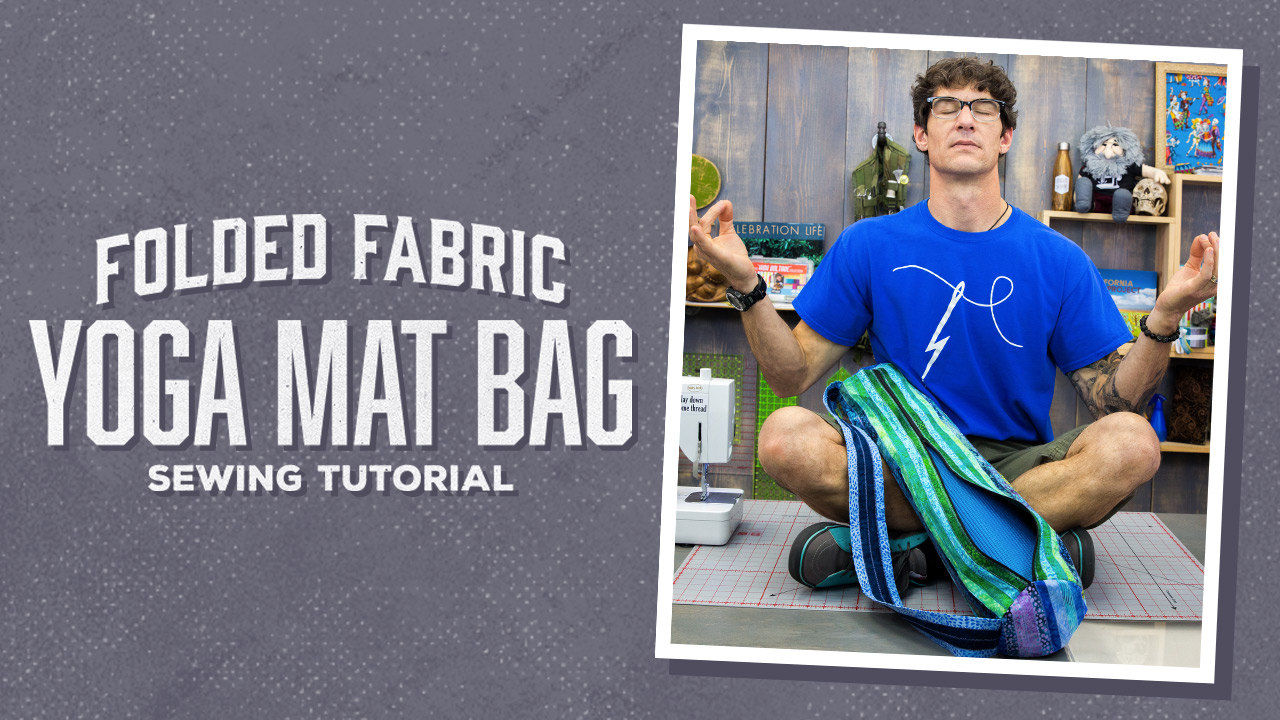
A few weeks ago I demonstrated how to build a thick, sturdy Folded Strips Bag out of jelly roll strips. Today I’m expanding on that concept with a Folded Fabric Yoga Mat Bag. The strips are folded and stitched together the same way, but this bag is designed to fit a rolled up yoga mat.
In this tutorial, I’ll demonstrate how to install a zipper and attach circular ends to your bag. Click HERE to watch!